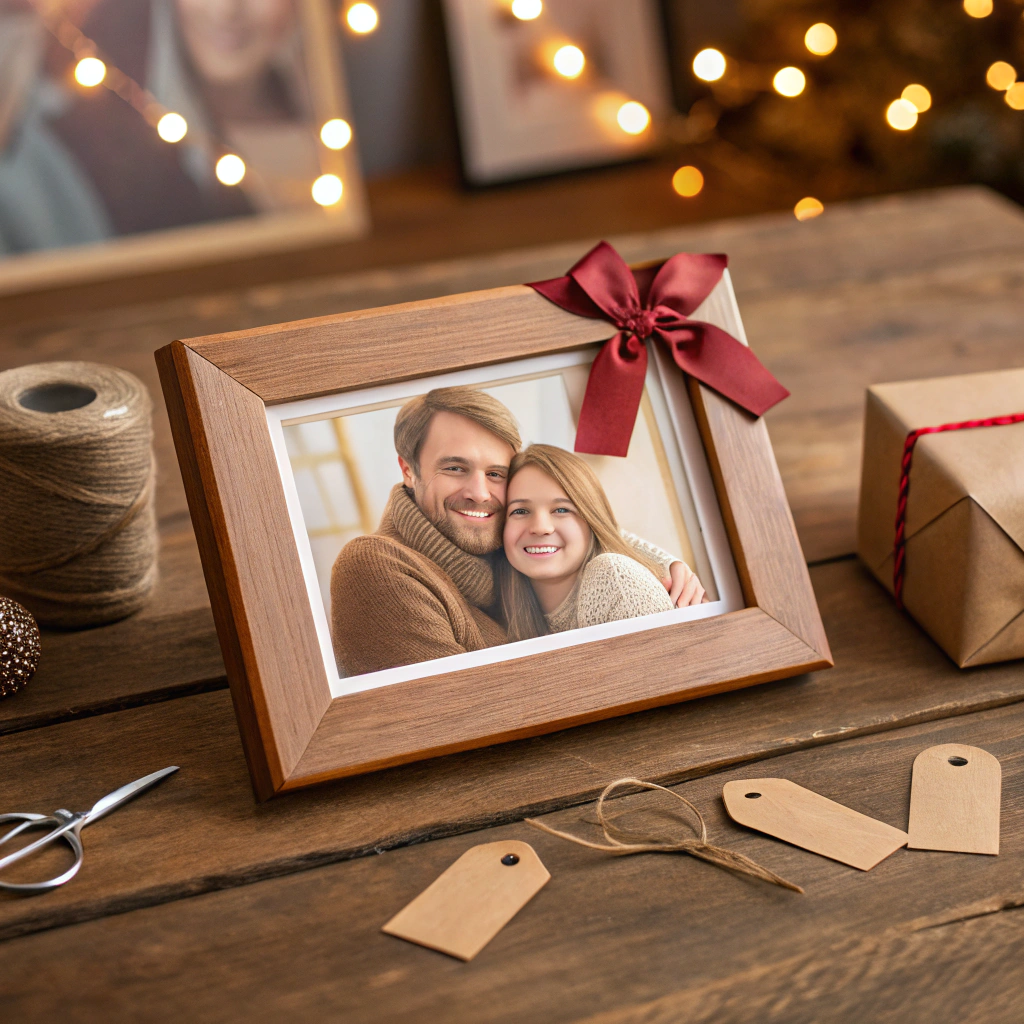
Unlock the Secret: How to Build a Custom Picture Frame (Even If You’ve Never Used a Saw!)
Ever looked at a beautiful photo and thought, “This deserves a frame as unique as the memory itself”?
What if you could make that frame—by hand?
Let’s dive into the surprisingly simple world of custom picture frames.
No fancy tools. No woodworking degree.
Just a little time, a few supplies, and a dash of creativity.
Why Build Your Own Picture Frame?
- Personal Touch: Every frame tells a story—yours.
- Perfect Fit: No more squeezing art into the wrong size.
- Budget-Friendly: Save money, get high-end results.
- Gift-Worthy: Handmade frames make unforgettable presents.
What You’ll Need
- Four pieces of wood (choose your favorite style)
- Measuring tape
- Saw (a simple hand saw works)
- Wood glue
- Clamps
- Sandpaper
- Paint or stain (optional)
- Glass or acrylic sheet (for the front)
- Cardboard or mat board (for the back)
- Hanging hardware
Step-by-Step: Build Your Custom Picture Frame
1. Measure Twice, Cut Once
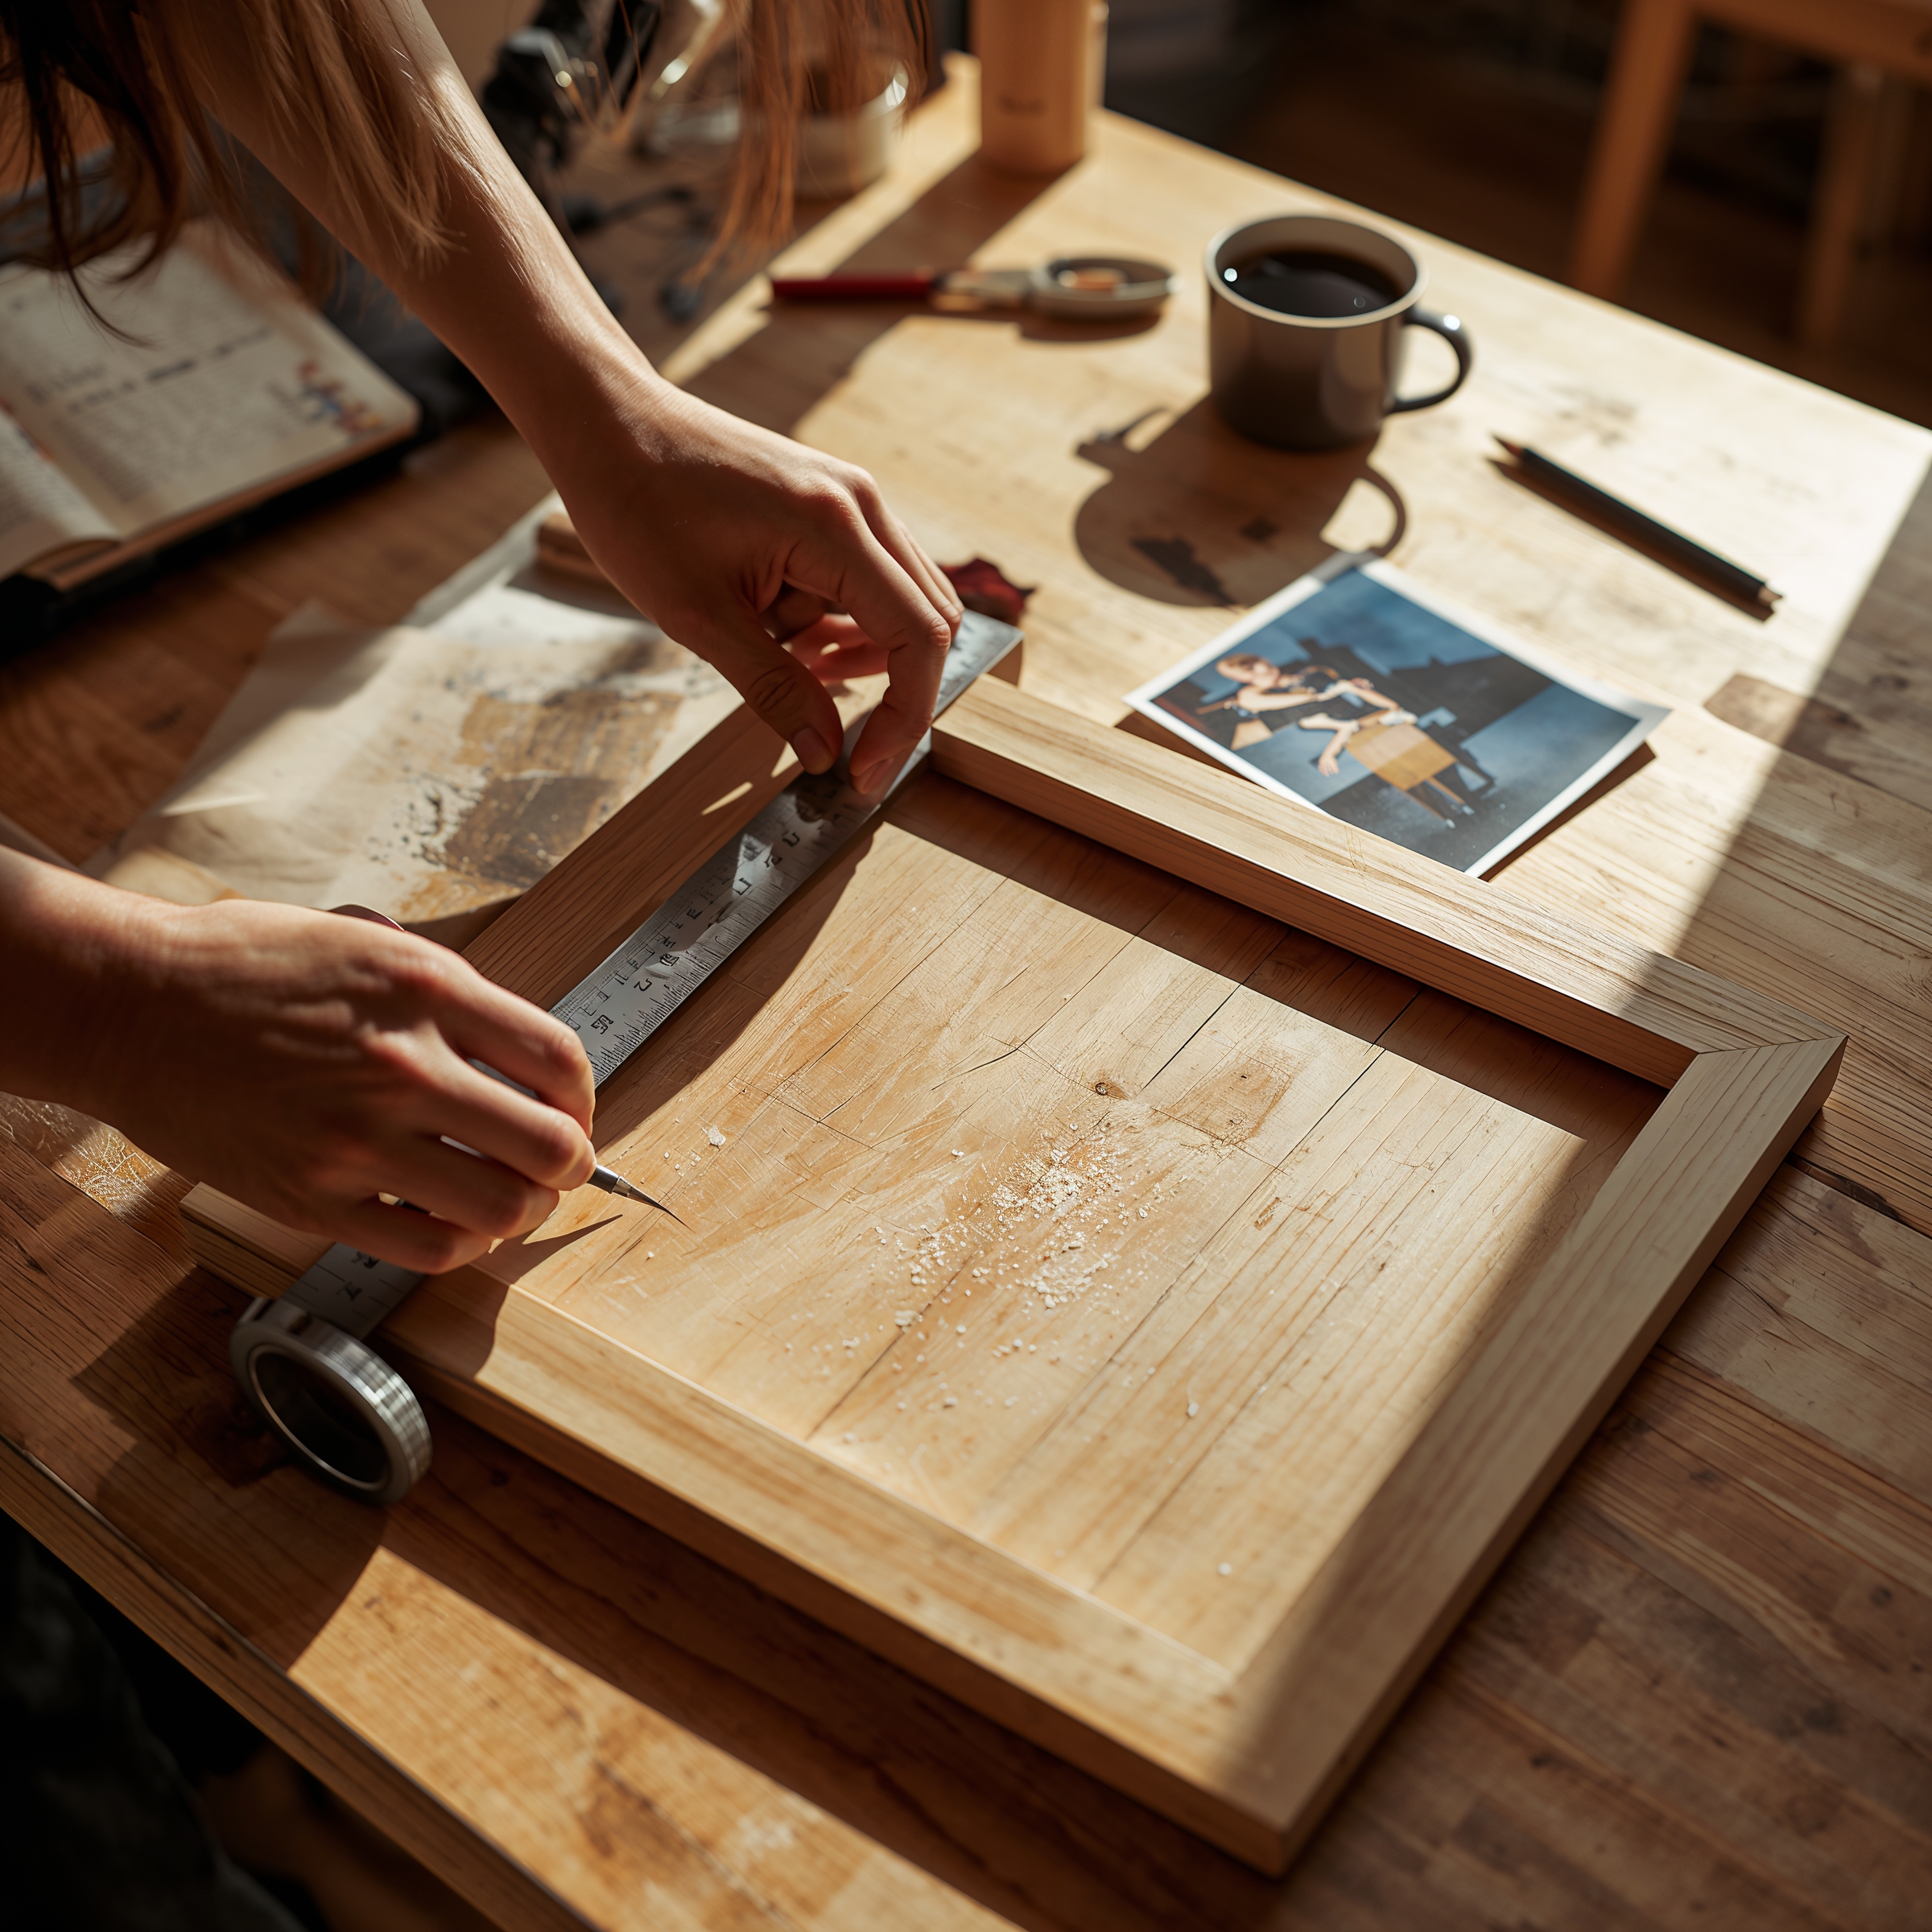
Measure Twice, Cut Once
- Measure your photo or artwork.
- Add 1/8 inch to each side for wiggle room.
- Mark your wood pieces for the frame sides.
- Double-check your measurements before cutting.
2. Cut the Wood
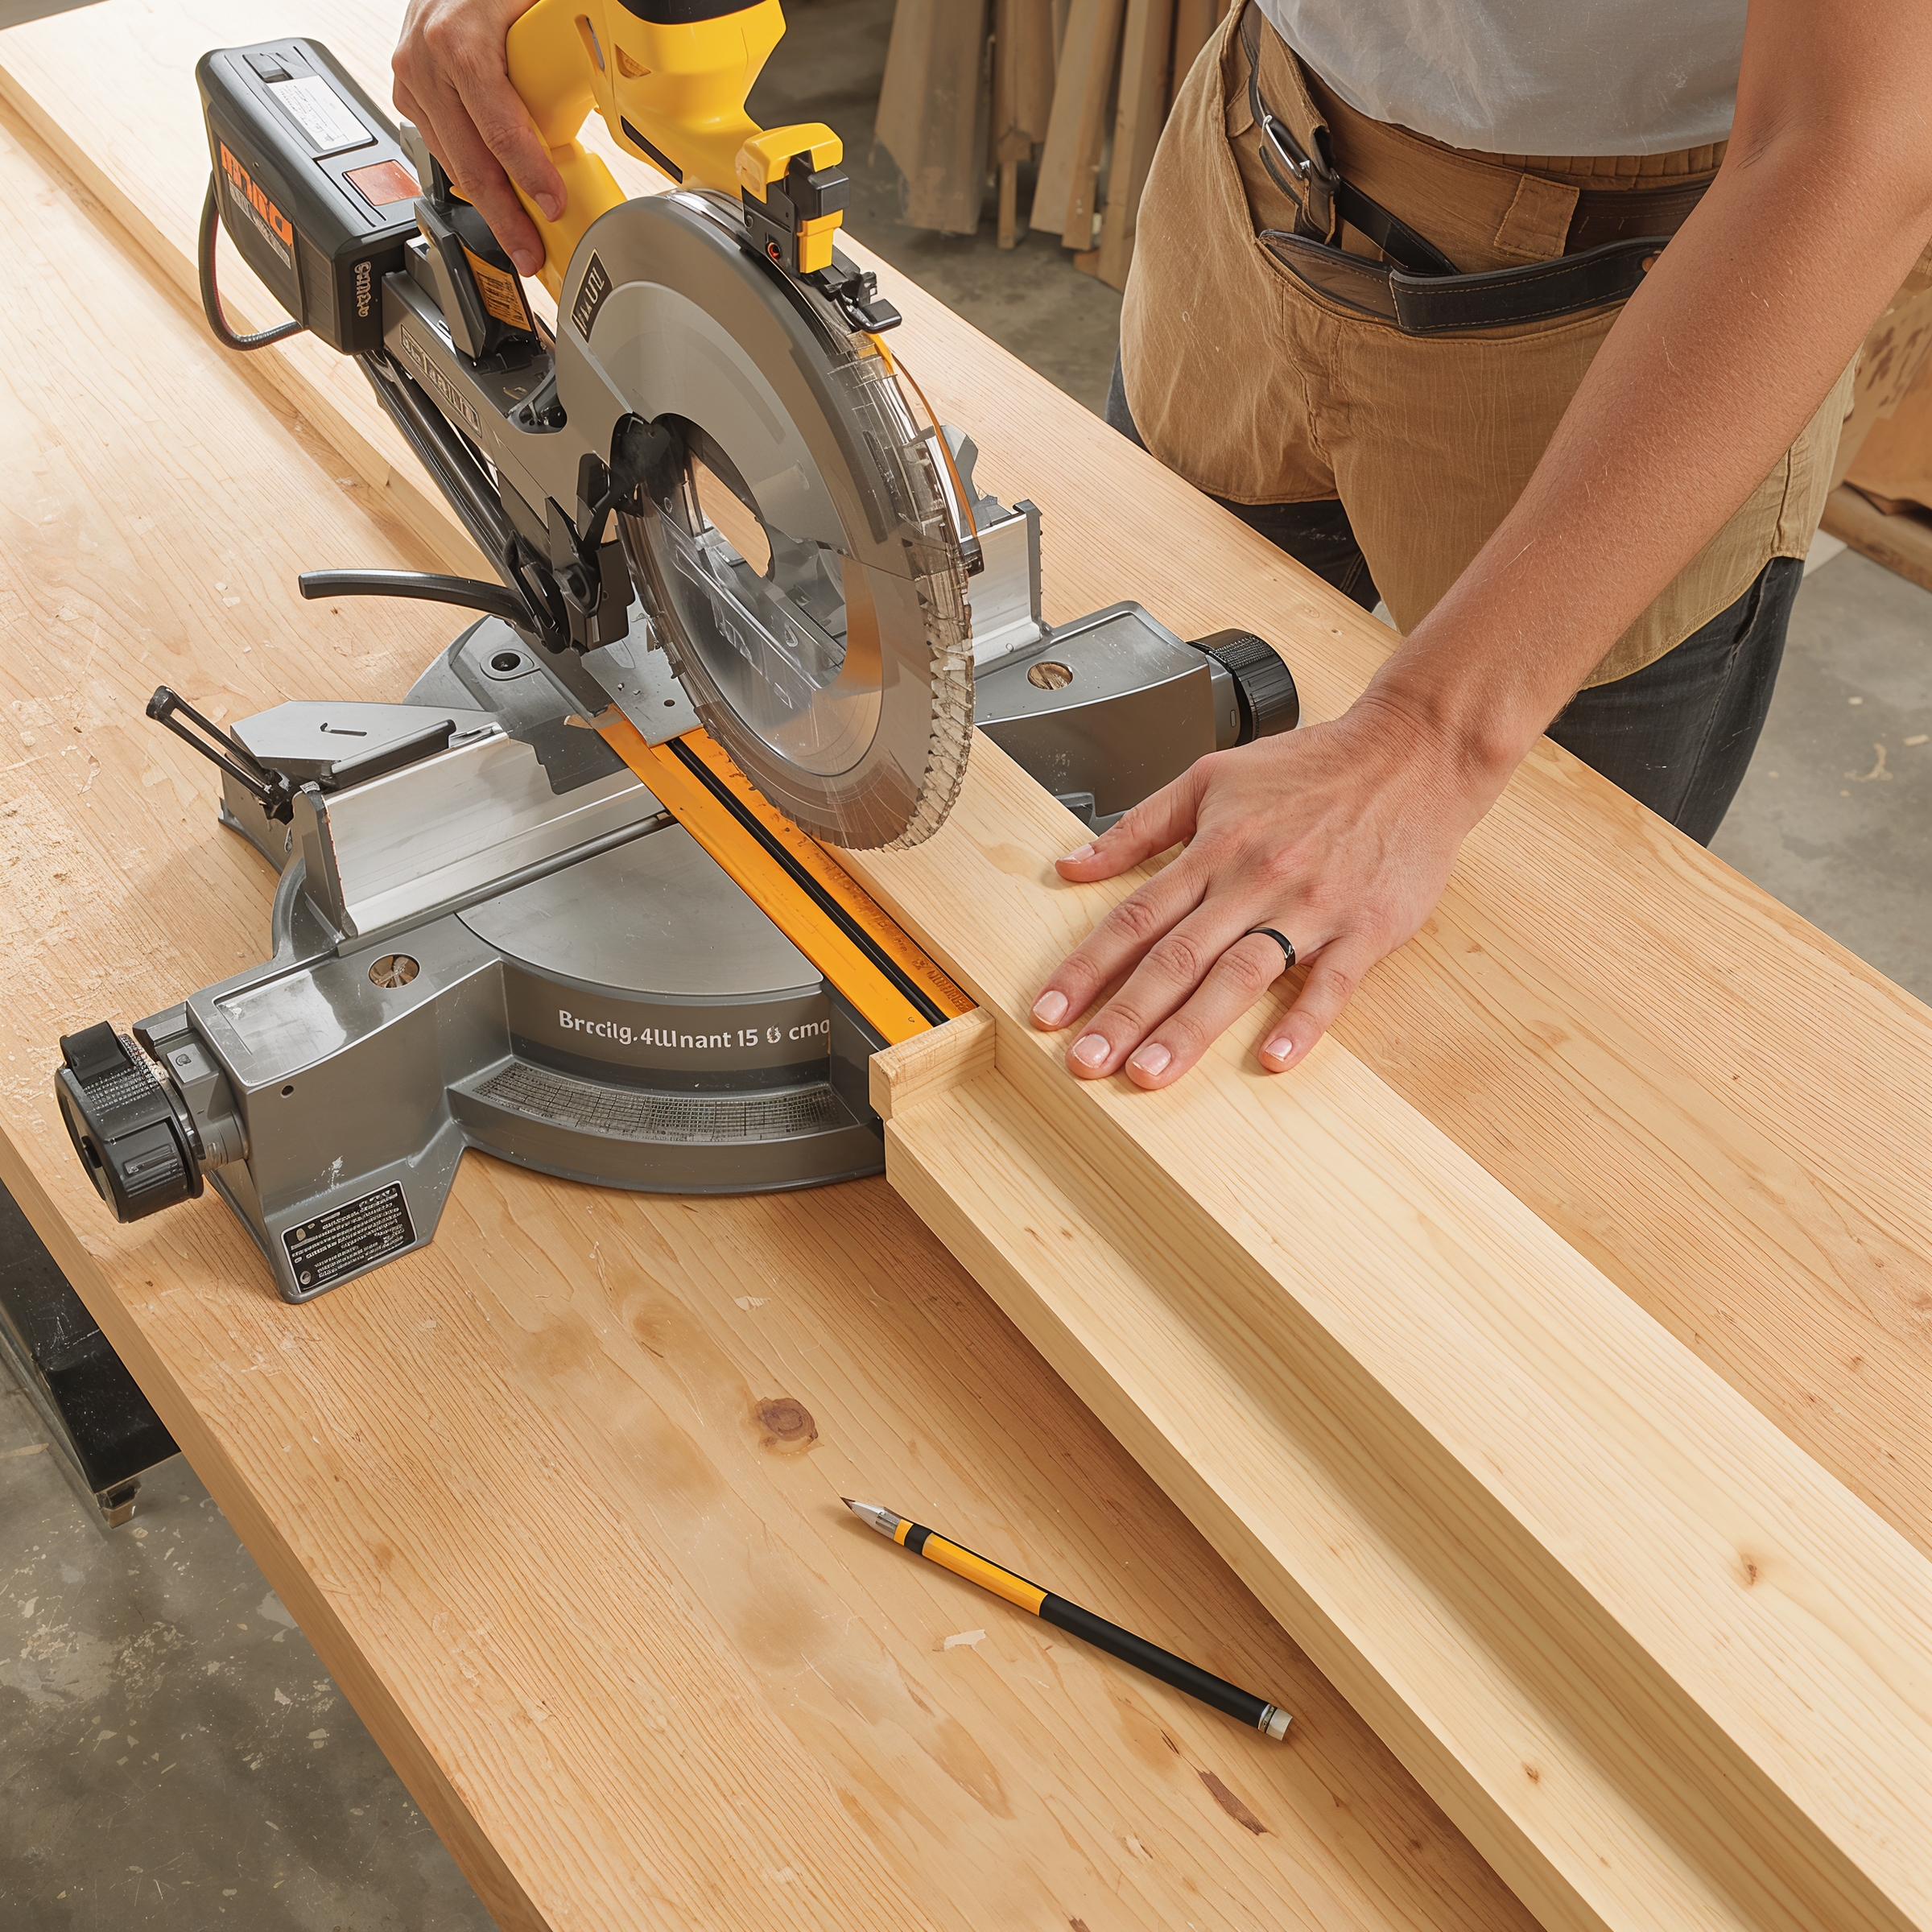
Cut the Wood
- Use a miter box or saw to cut 45-degree angles at each end.
- You’ll need two long sides and two short sides.
- Lay them out to check the fit—edges should meet neatly.
3. Glue and Clamp
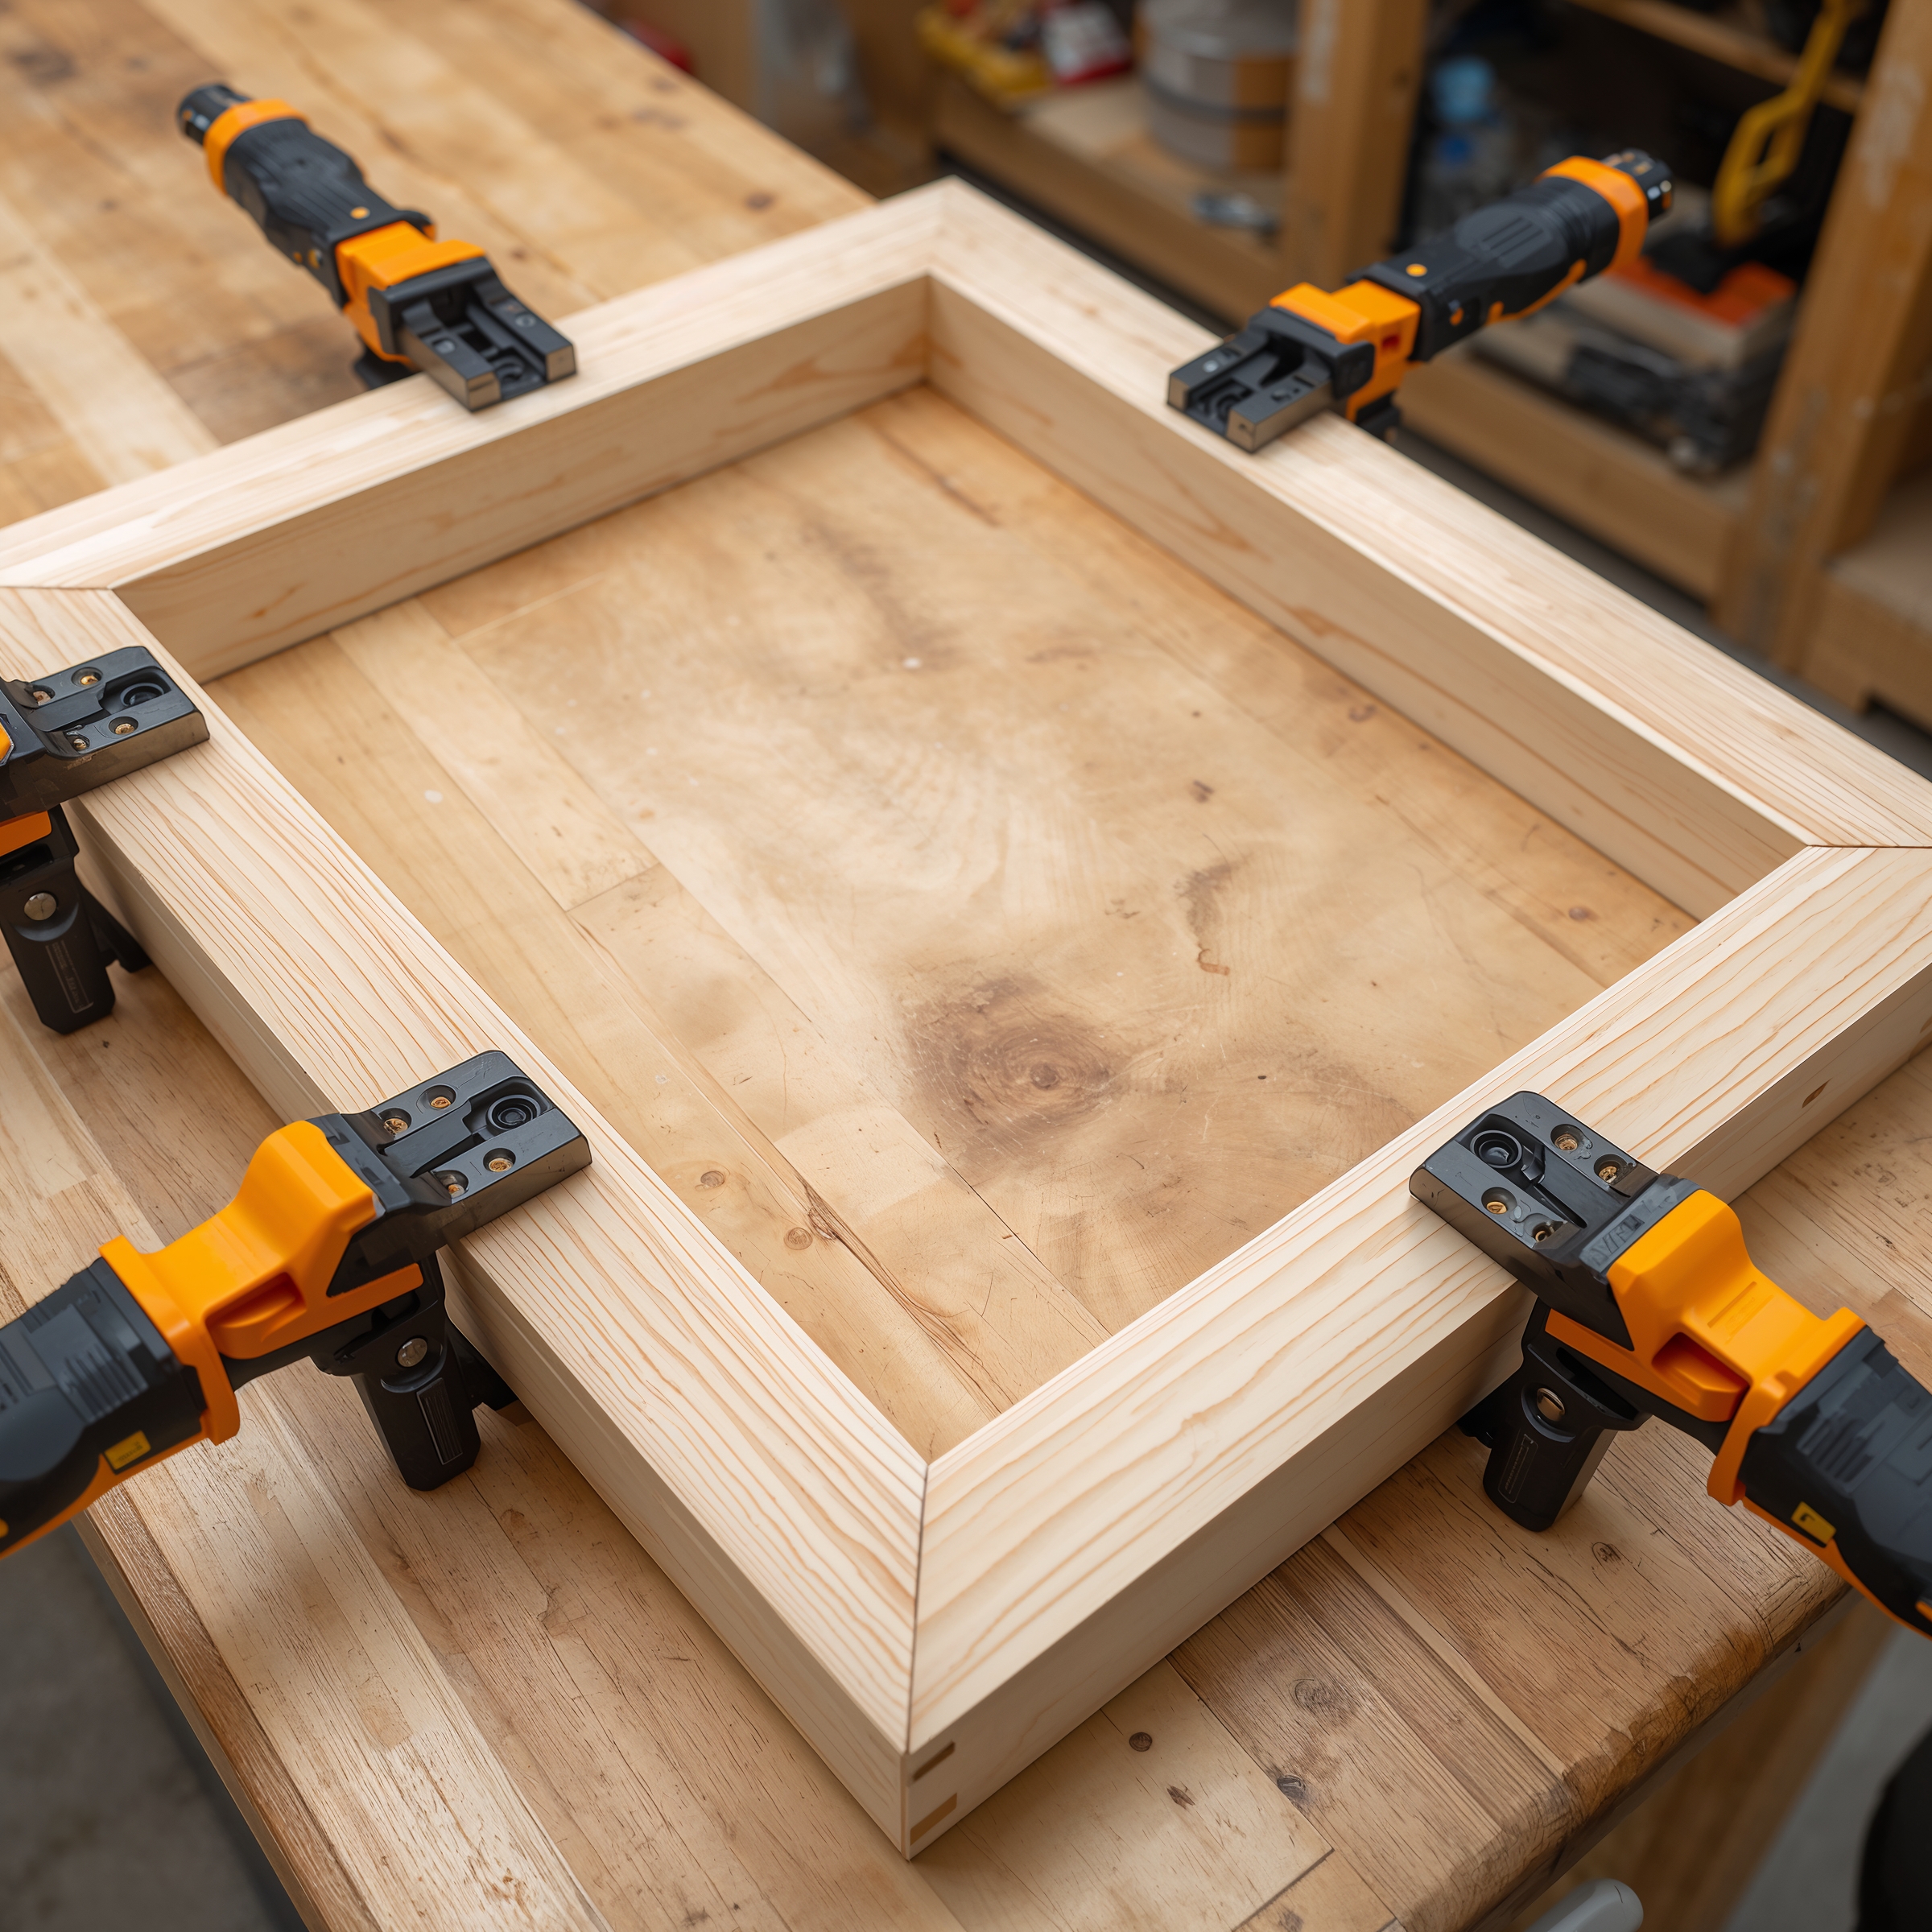
Glue and Clamp
- Apply wood glue to the angled edges.
- Press the corners together.
- Use clamps to hold the frame tight while it dries.
- Wipe away any extra glue with a damp cloth.
4. Smooth the Edges
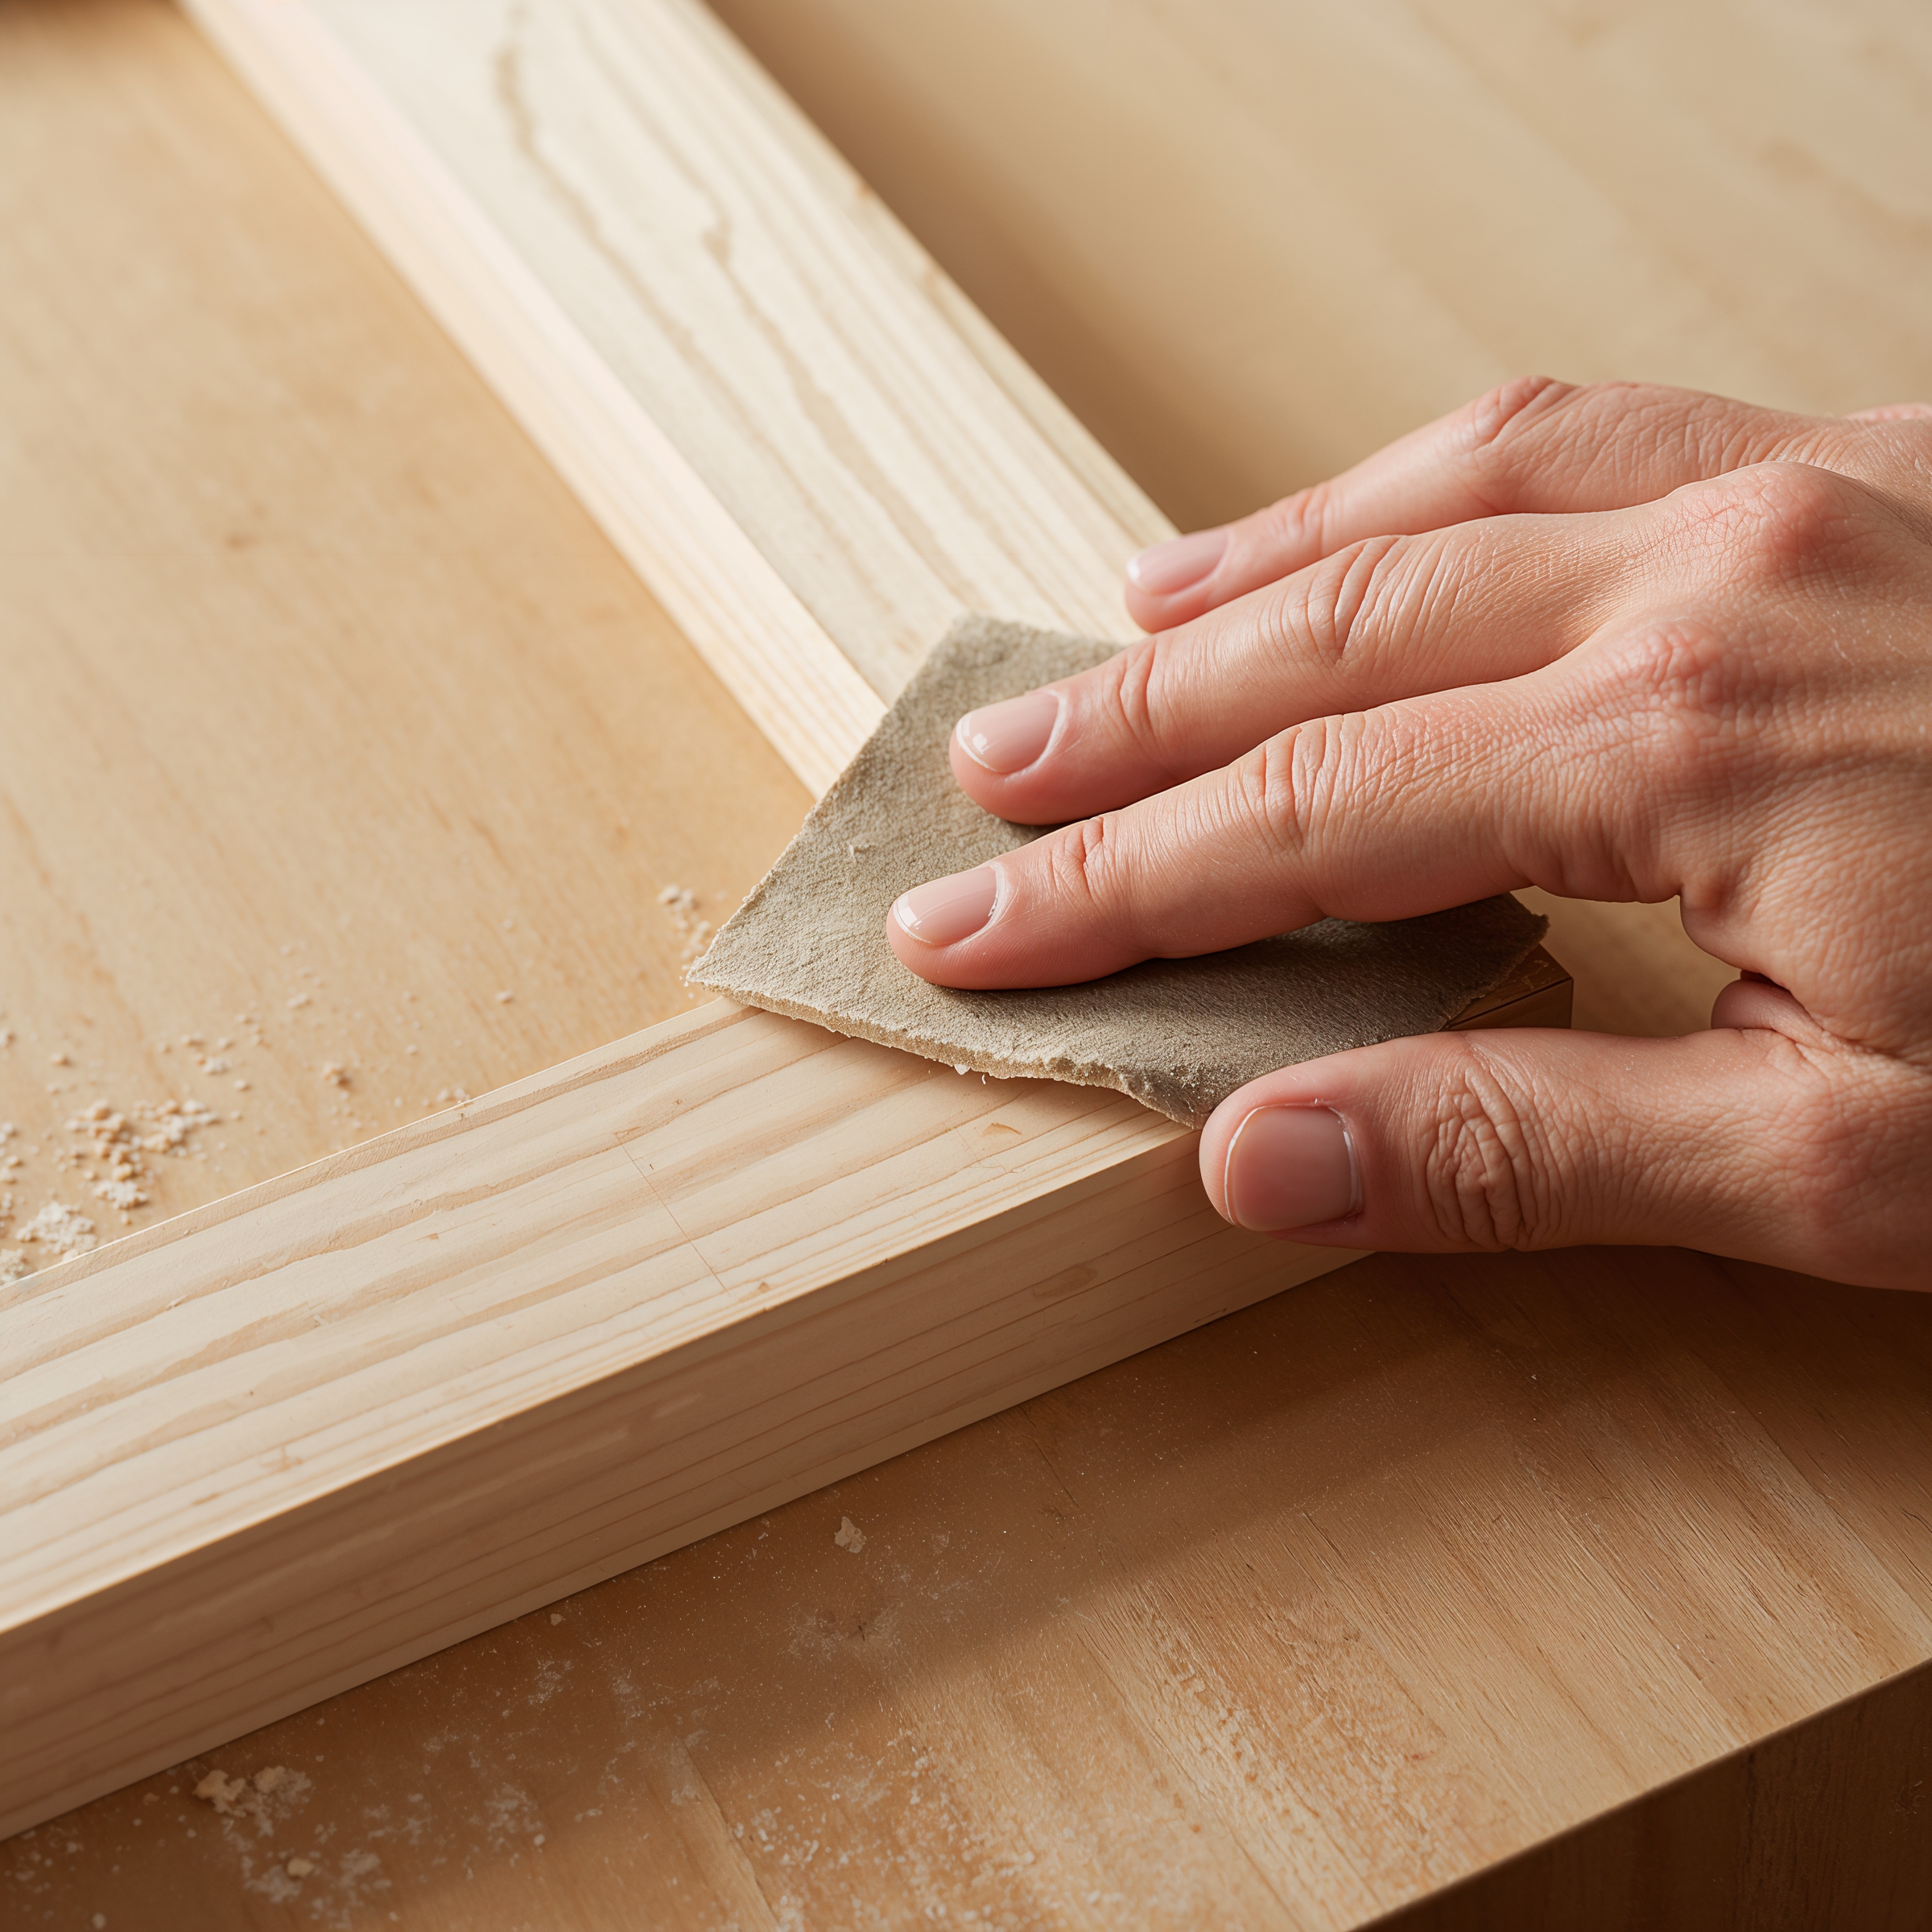
Smooth the Edges
- Once dry, remove the clamps.
- Sand the frame until it feels smooth.
- Pay extra attention to the corners.
5. Add Your Style
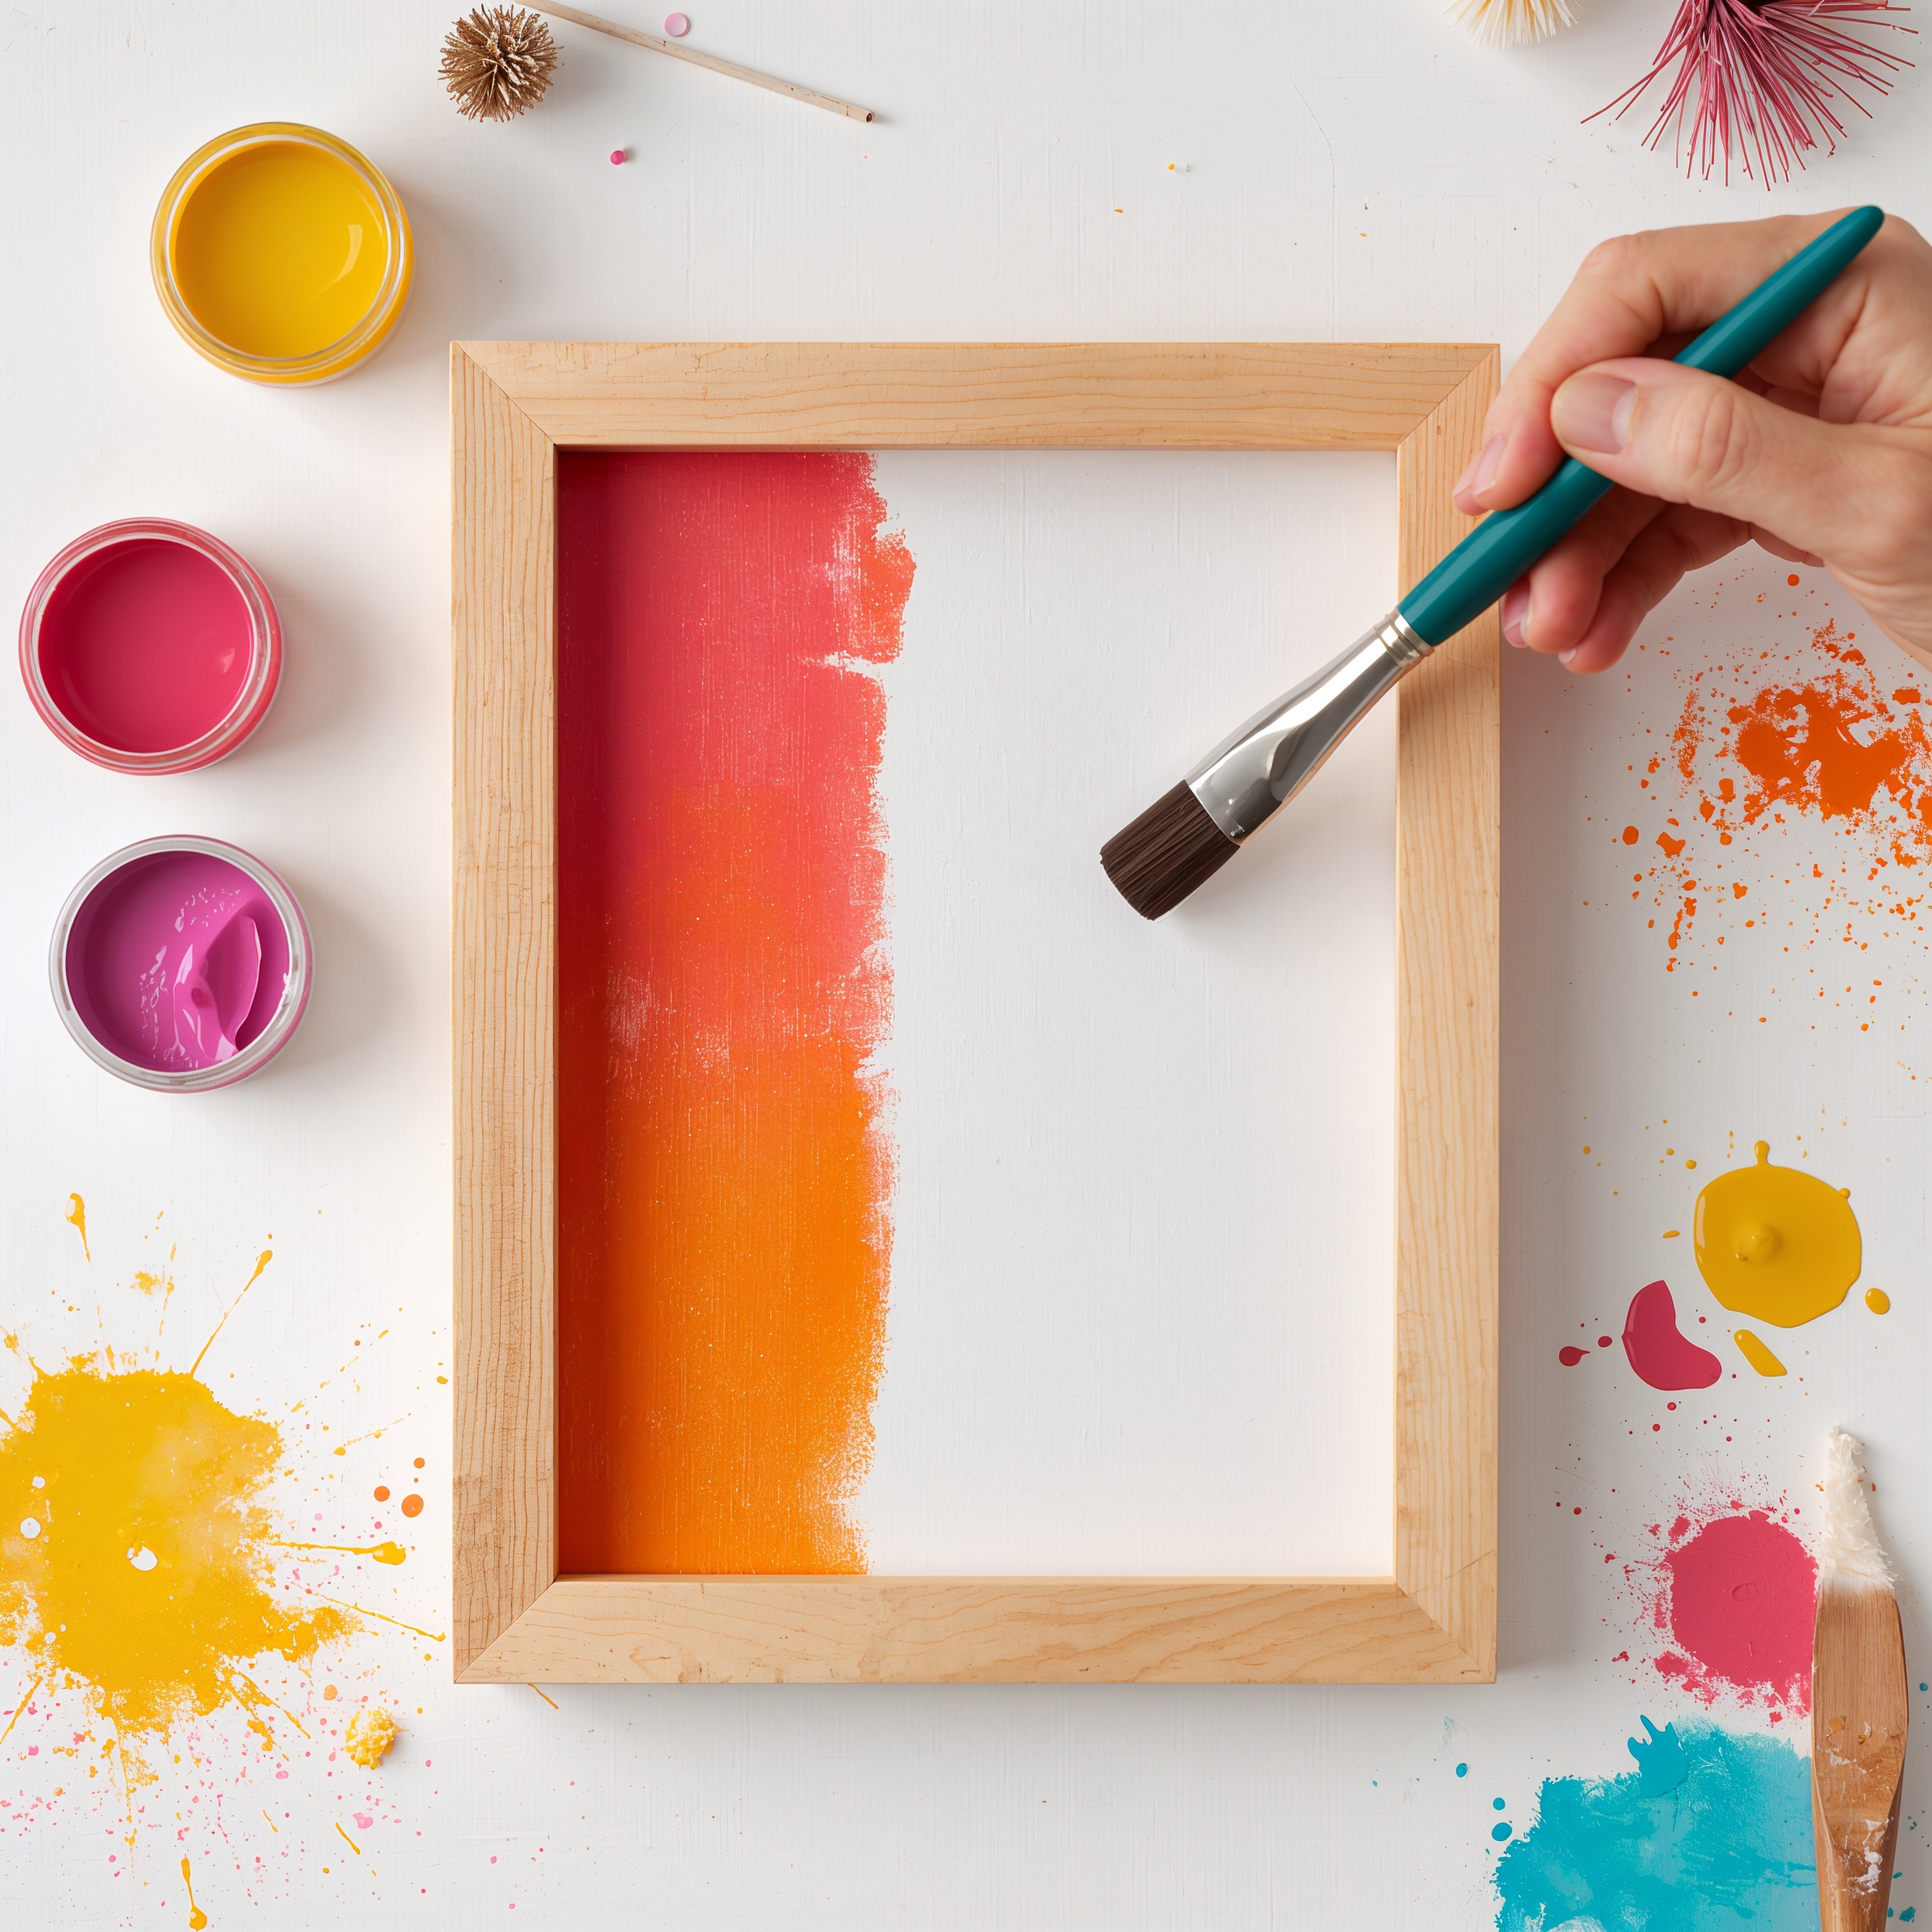
Add Your Style
- Paint, stain, or leave the wood natural.
- Let it dry completely before moving on.
6. Insert Glass and Backing
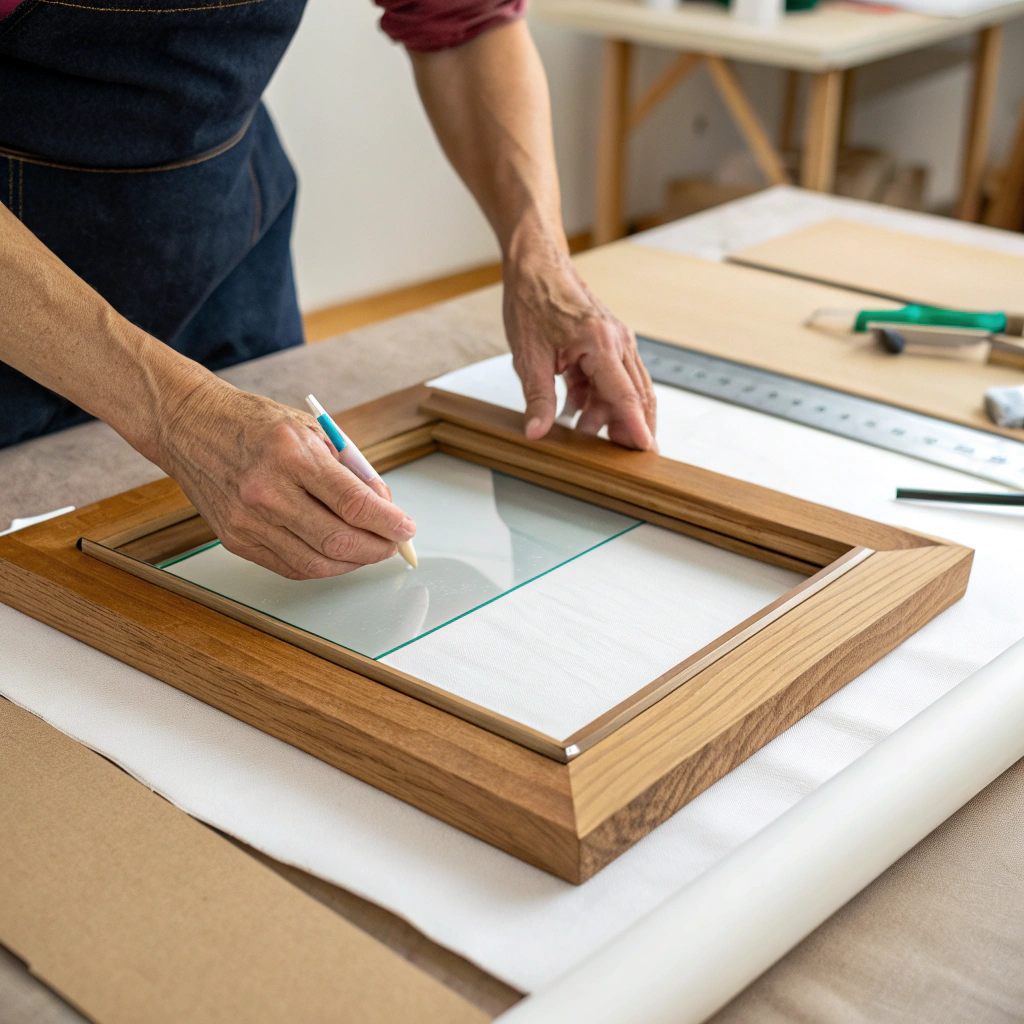
Insert Glass and Backing
- Place the glass or acrylic sheet inside the frame.
- Add your photo or art.
- Place the cardboard or mat board behind it.
- Secure everything with small nails or frame clips.
7. Attach Hanging Hardware
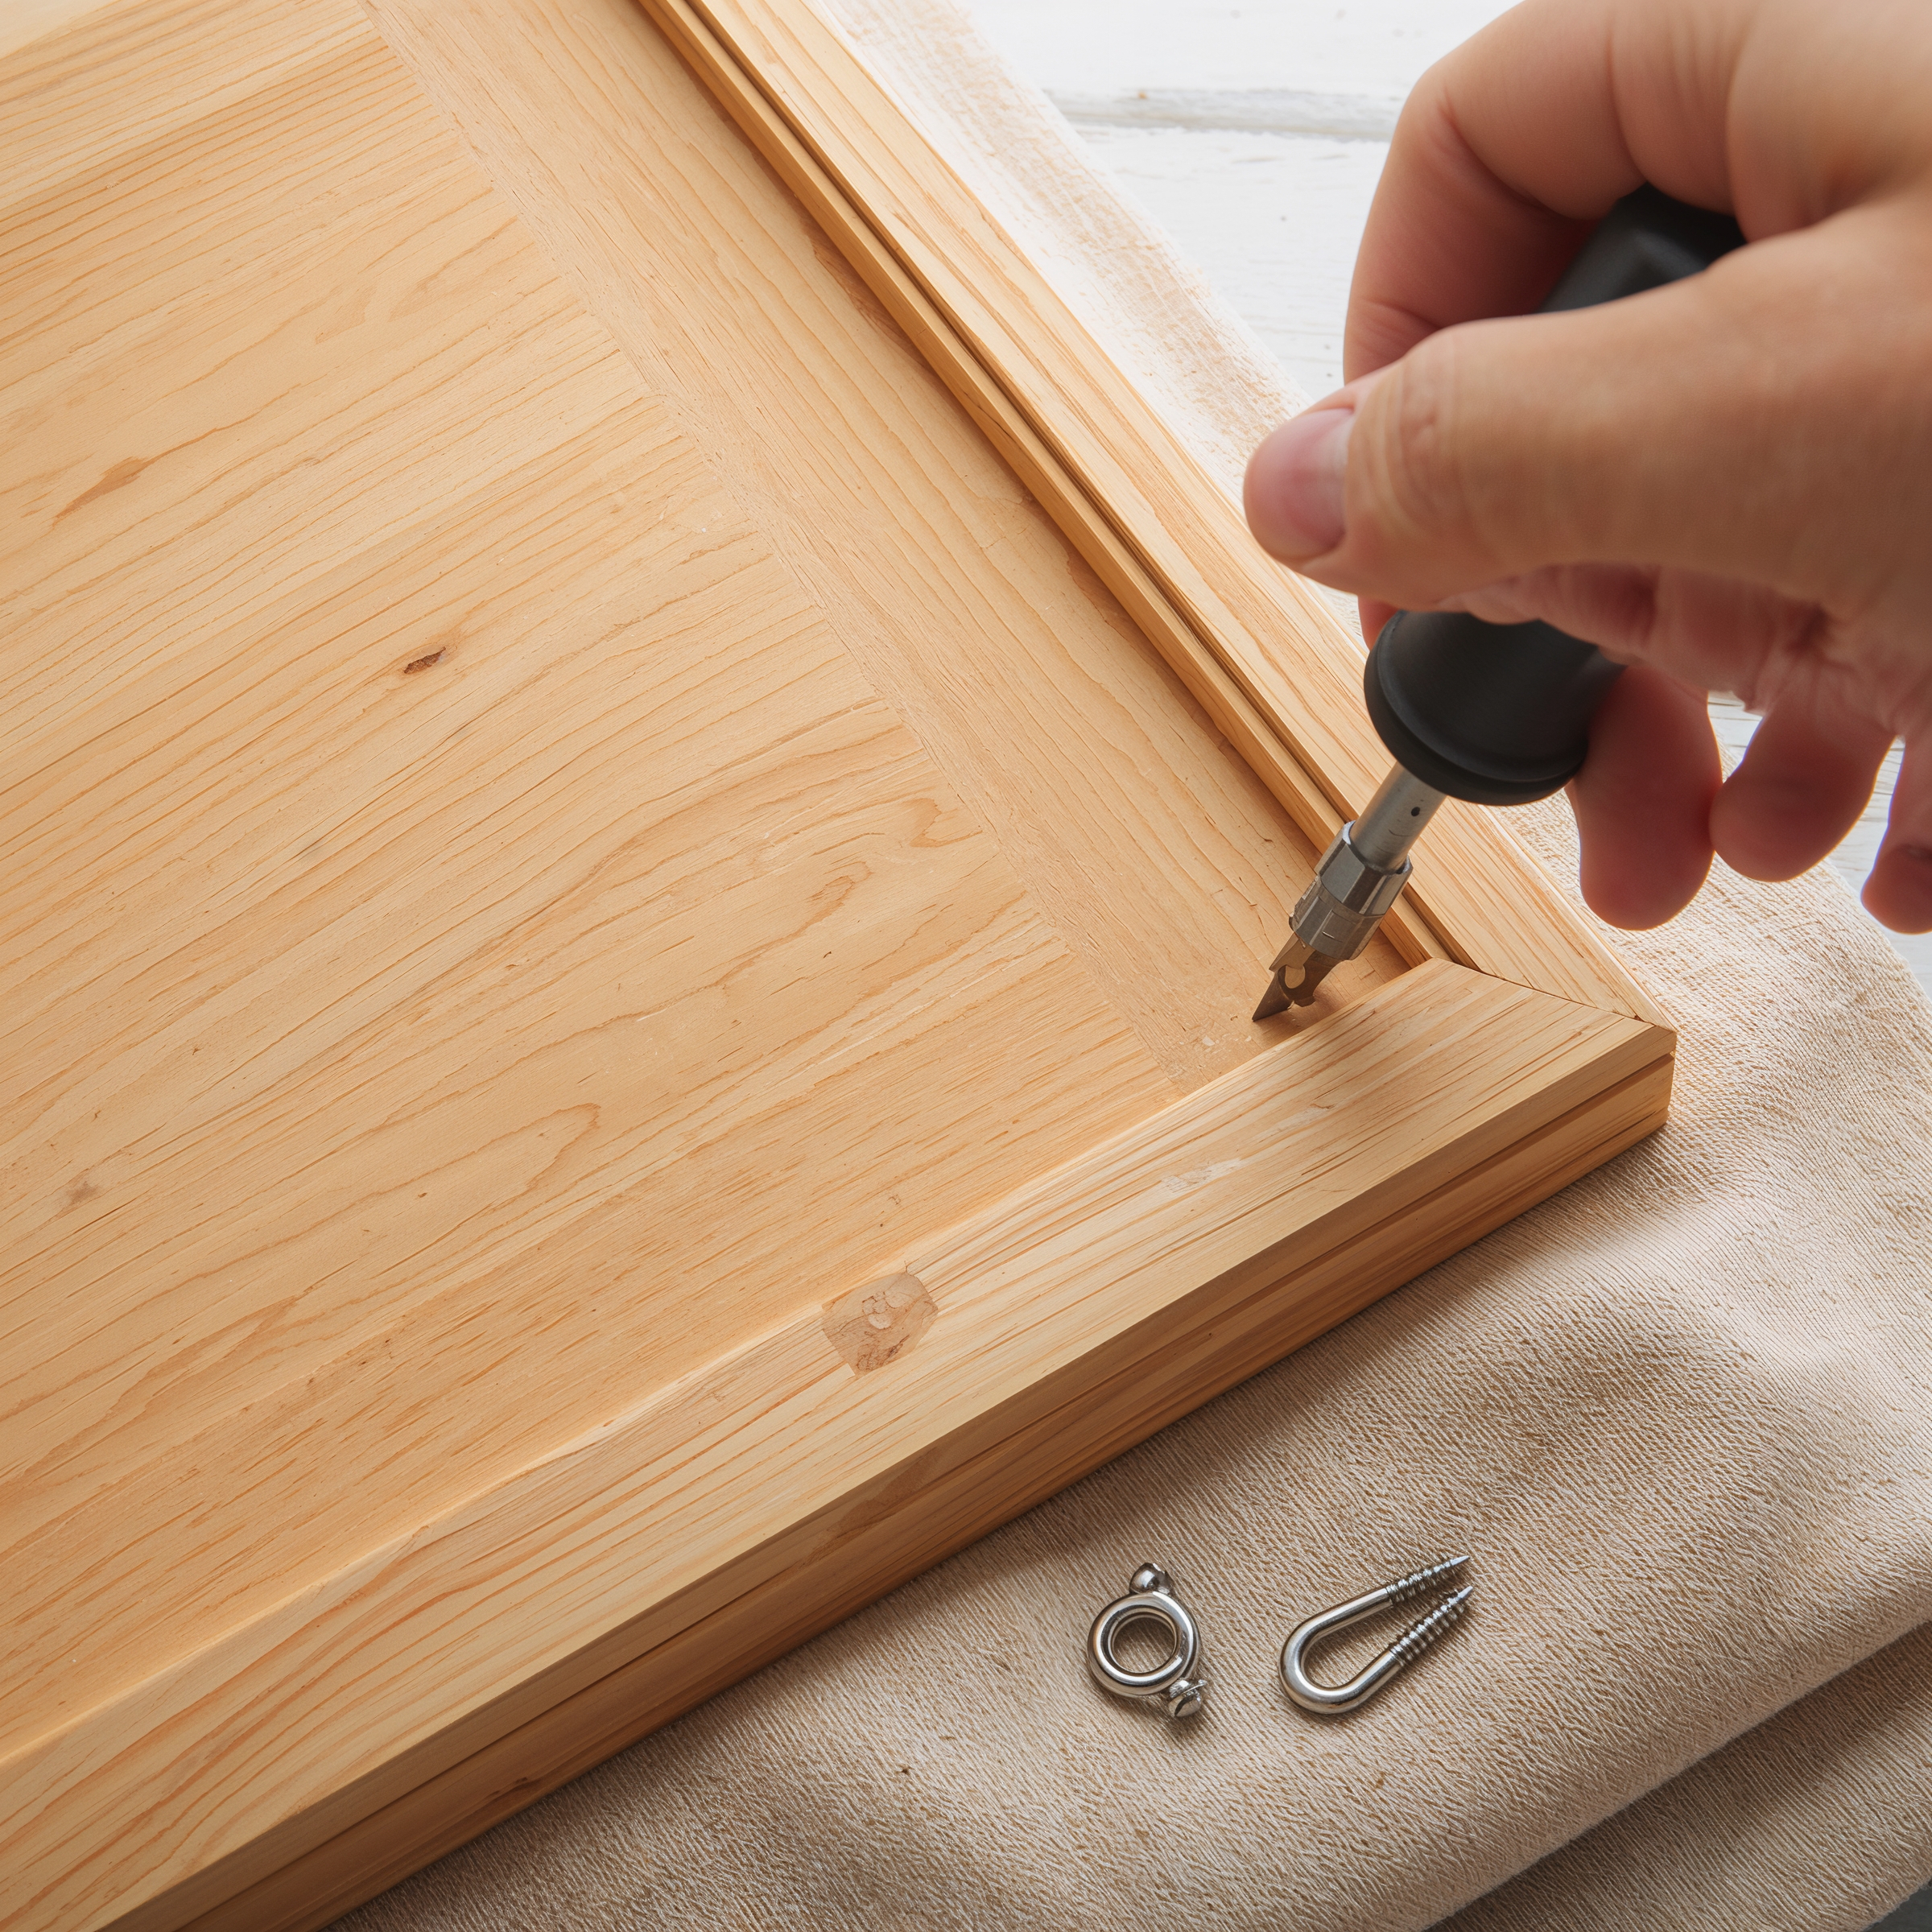
Attach Hanging Hardware
- Screw in a sawtooth hanger or D-rings on the back.
- Make sure it’s centered for easy hanging.
Pro Tips for a Flawless Finish
- Use painter’s tape to keep paint off the glass.
- Try decorative trim for a vintage look.
- Add a personal message on the back for a special gift.
Why Custom Frames Make the Best Gifts
- They show you care enough to make something by hand.
- You can match any style or color.
- Perfect for birthdays, weddings, or “just because.”
Final Thoughts
Building a custom picture frame isn’t just a craft—it’s a memory in the making.
You don’t need a workshop or a big budget.
Just a little patience and a willingness to try.
So, what will you frame first?
Ready to start?
Share your creations in the comments!
Or tag us on social media with your custom picture frame masterpiece.
")

")

")
")
")
")