Unwrap the Magic: Crafting Gift Tags That Shine Bright This Holiday Season!
The holidays are about the gifts of good will to all, but is there a treat that takes it beyond all the rest among them? Gift tags may be one of the littlest elements, but they can make a big difference. Forget about store-bought tags; this year let’s make your own! They’re quick, fun, and great for adding that personal touch to your gifts. Plus, they’re such a great way to flex your creativity. Ready to dive in? Let’s get crafting!
What You’ll Need:
- Cardstock or thick paper
- Scissors or a paper cutter
- Hole punch
- Ribbon or twine
- Markers, pens, or paint
- Postage stamps, stickers, or a roll of washi tape (optional)
Optional: Some glitter, sequins, or other embellishments
Step 1: Choose Your Design
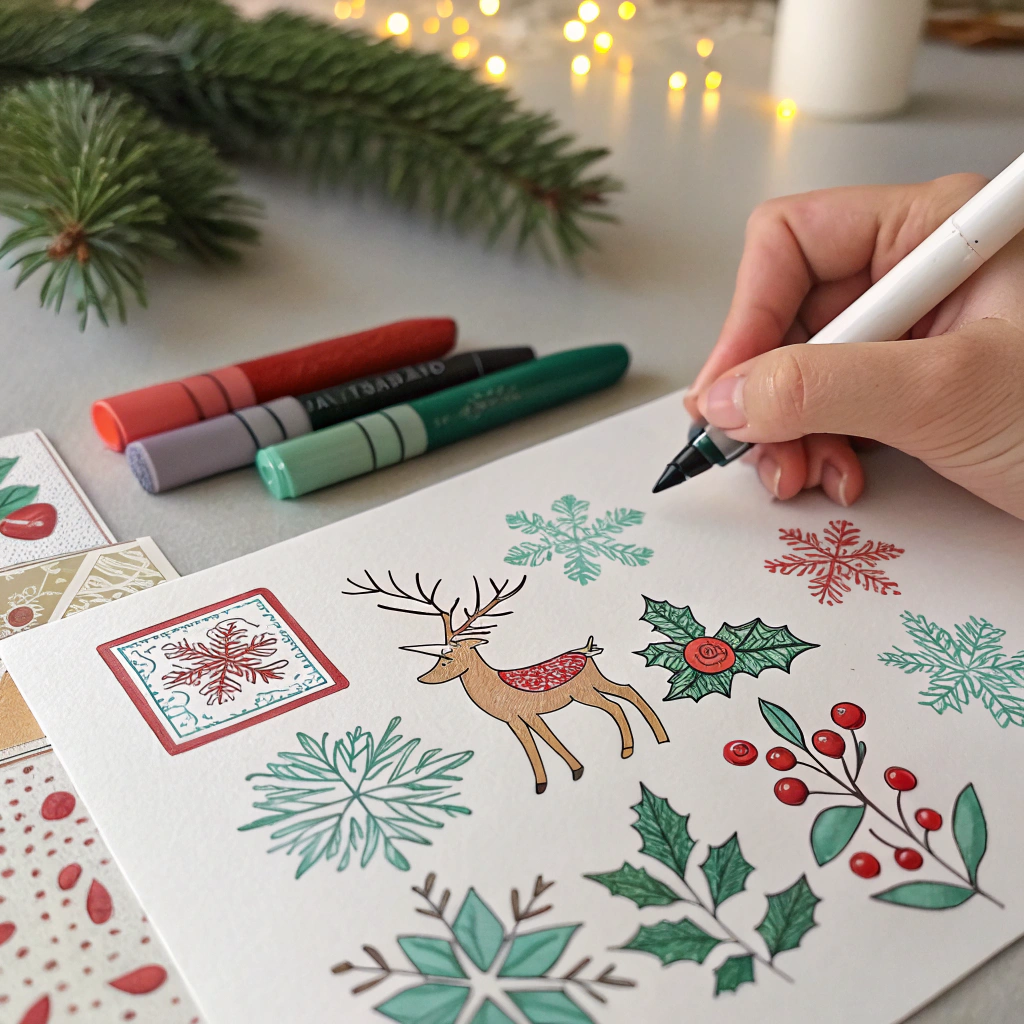
Choose Your Design
- Consider the theme of the holiday. When Christmas—snowflakes, reindeer, or holly? Menorahs for Hanukkah? Or perhaps something broad like stars or hearts.
- Now by all means, keep it elegant or go wild—your tags, your call!
Step 2: Cut Your Tags
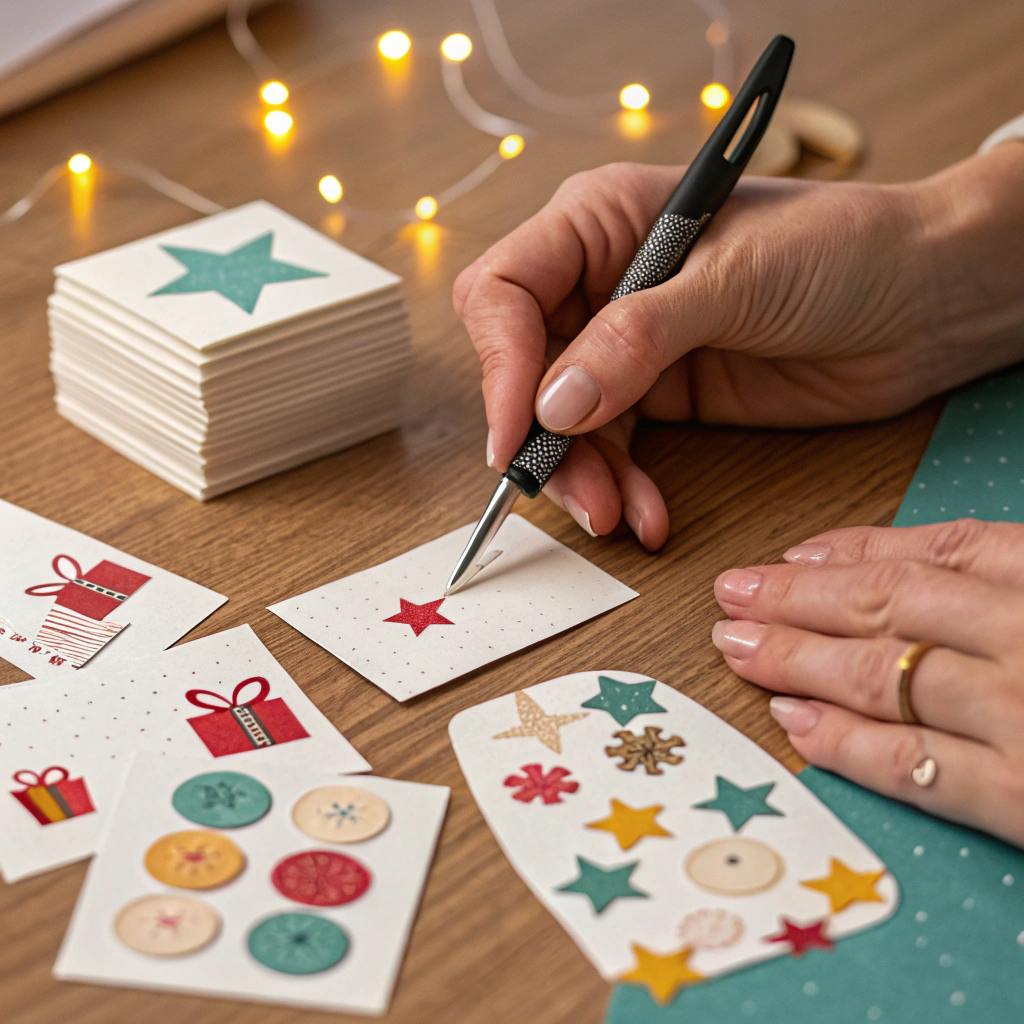
Cut Your Tags
- Make your tags sturdy with cardstock or thick paper.
- Cut them into rectangles, circles, or even kooky shapes, like gift boxes or trees.
- Pro tip: If you want all your tags the same size, use a template.
Step 3: Add Personalization

Add Personalization
- Address the recipient in bold, colorful letters.
- Include a brief note saying something like “To: [Name], From: [Your Name],” or include some cheery message like “Joy to You!”
- (Use stamps, stickers, or your own hand-drawn designs to make each tag special.)
Step 4: Use a Hole Punch, then Add Ribbon

Use a Hole Punch, then Add Ribbon
- Punch a small hole in the top of your tag©®.
- Thread ribbon, twine, or string through the hole.
- Let it dry and cinch it tight to attach to a gift.
Step 5: Embellish (Optional)
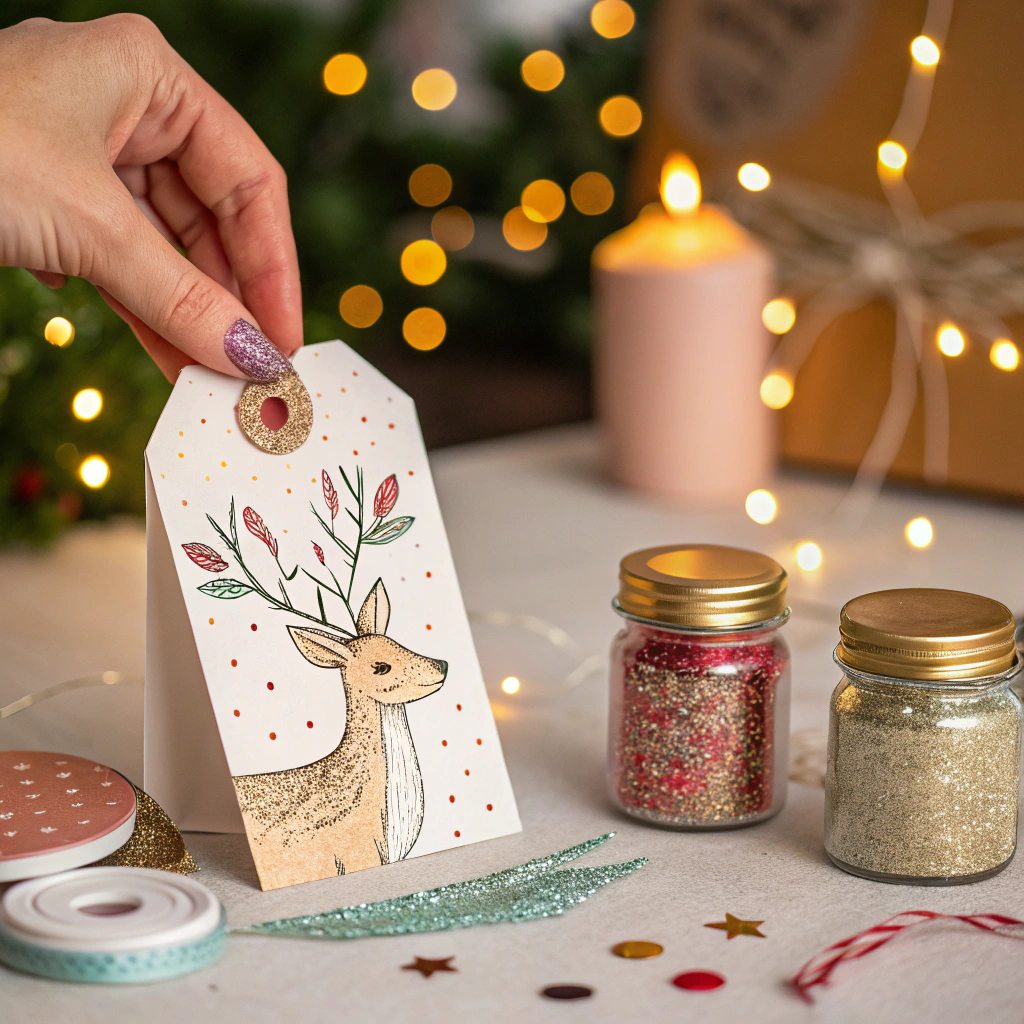
Embellish (Optional)
- Add glitter, sequins, or little drawings for added sparkle.
- Use washi tape to build borders on cards and patterns.
- Keep in mind that less is more—avoid design overcrowding.
Step 6: Attach to Your Gift
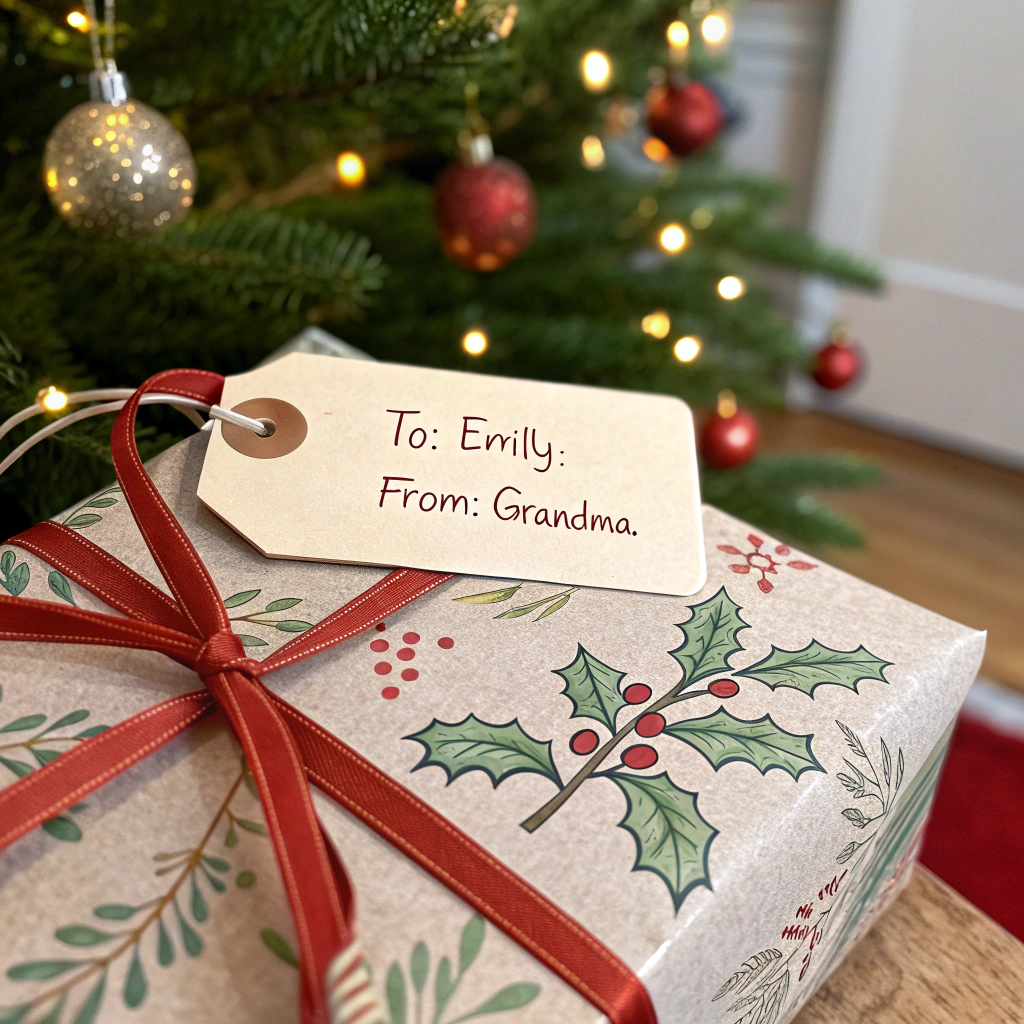
Attach to Your Gift
- Wrap the ribbon around your gift and tie it in a bow.
- Just be sure the tag is out where people can see your handiwork!
Why do personalized gift tags matter?
- They show you care. A hand-lettered tag reads, “I put thought into this.”
- They’re eco-friendly. Use old cards or scrap paper to take notes.
- They’re budget-friendly. You can save money by not buying store tags.
Personalized gift tags are a detail that makes a huge difference. They’re fun to create, give your gifts a personal touch, and are an opportunity to let your creative skills shine. Skip the generic tags this holiday season, and design to your heart’s content. Your family and friends will notice—and be grateful for—the effort. Happy crafting!
Pro Tip: Save your designs as templates to use next year, for birthdays, or for any other event! Once you start, you’ll never return to plain tags again!
")

")

")
")
")
")