7 Steps to Creating Eye-Catching Custom Cards That Will Unlock Your Creativity
There’s just something special about getting a handmade greeting card. It’s personal, considered, and shows you’re invested. The good news? You don’t need to be a professional artist to make a beautiful custom card! A few simple supplies and some creativity can produce cards that will impress your friends and family. So without further ado, let’s get into this fun and worthwhile DIY project!
Step 1: Gather Your Supplies

Gather Your Supplies
What You’ll Need:
- Cardstock or blank cards.
- Patterned paper or scrapbook paper.
- And scissors, glue, and double-sided tape.
- Permanent markers, pens, or stamps for writing on and decorating
- Things with which to add embellishments such as stickers, ribbons, or glitter.
Why It Works: The proper tools help to make sure your cards are polished and professional-looking.
Step 2: Choose Your Card Design
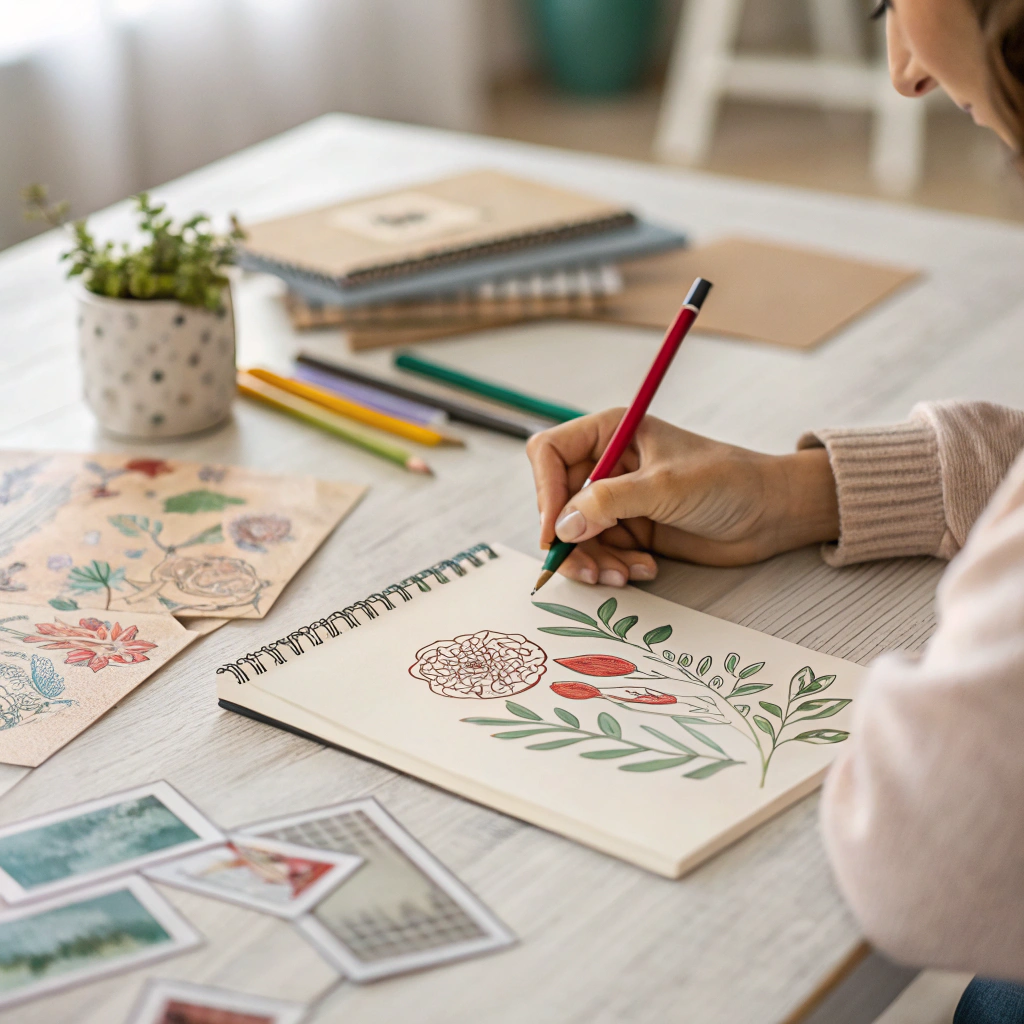
Choose Your Card Design
How to Do It:
- Choose a basis (birthday, thank you, holiday, etc.).
- Draw a rough floor plan or find one online for ideas.
- For your first few cards, keep it simple.
Why It Works: With a clear design plan in place, the process is less intimidating and more straightforward.
Step 3: Cut and Fold Your Card Base

Cut and Fold Your Card Base
How to Do It:
- If you use a card (A5 size is good enough) and fold it in half, you can create a card.
- You can also cut decorative paper to fit onto the front or inside of the card.
- Use a bone folder for sharp folds.
Why It Works: The foundation of a great card is a strong base.
Step 4: Add Layers and Textures
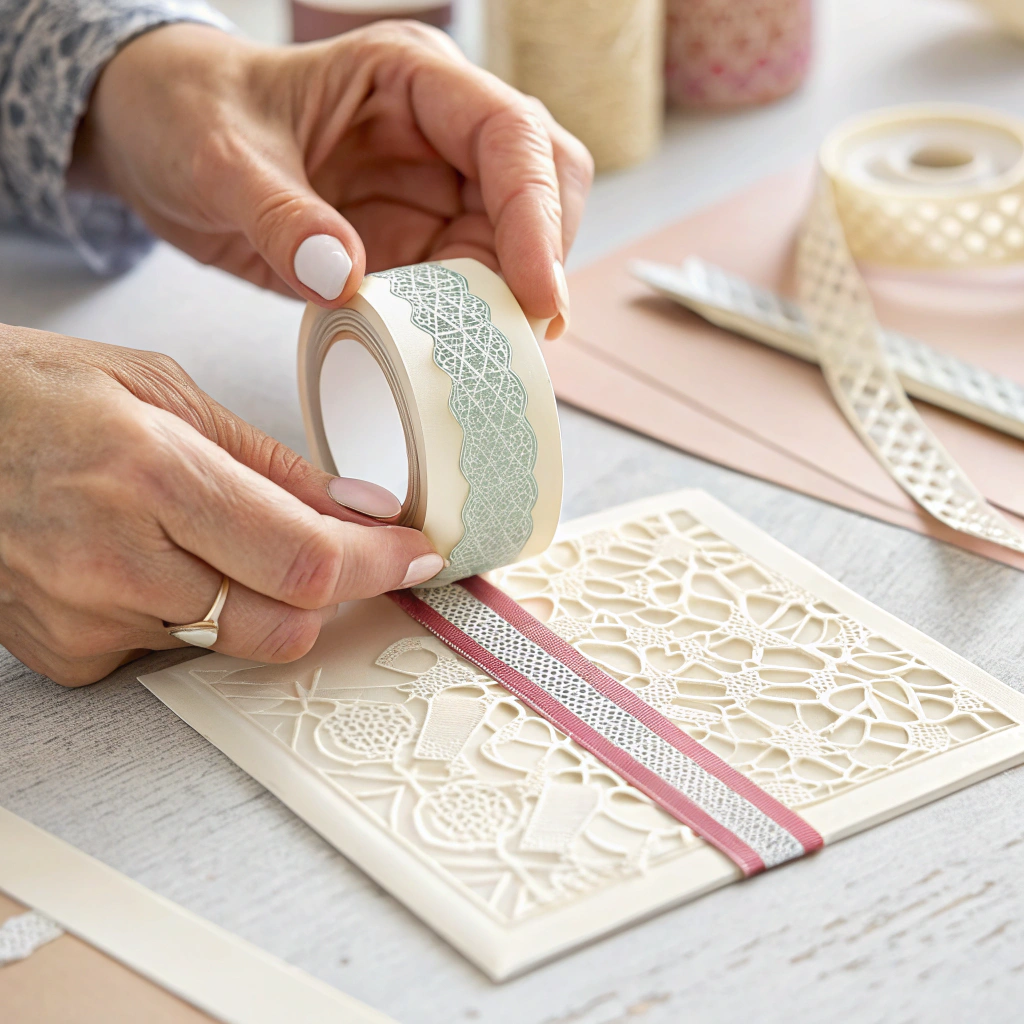
Add Layers and Textures
How to Do It:
- Use layered patterned paper or fabric on the card front.
- Adding decorative texture, use foam tape for 3D accents.
- Use ribbons, lace, or embossed paper to add texture.
Why It Works: Layers and textures add visual interest to your card.
Step 5: Personalize with Handwritten Messages
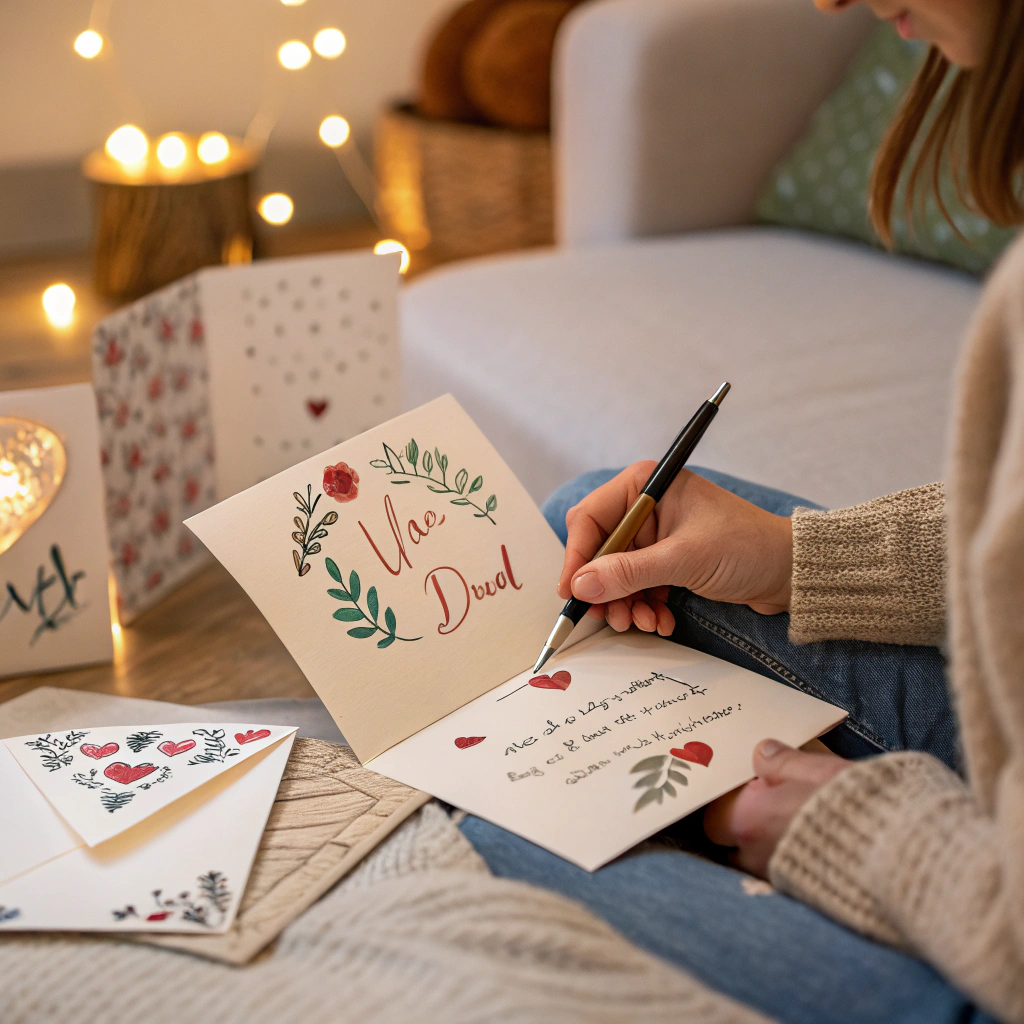
Personalize with Handwritten Messages
How to Do It:
- Make sure to write a heartfelt message inside the card.
- For special occasions, you can use calligraphy or fancy fonts.
- How well do you know your friends? Add a personal quote or inside joke.
Why It Works: Your card is unique and meaningful with handwritten messages.
Step 6: Decorate with Embellishments

Decorate with Embellishments
How to Do It:
- Add stickers, sequins, or glitter for some sparkle.
- Utilize stamps or stencils for patterns.
- For a fun twist, add a few charms or buttons.
Why It Works: Embellishments lend personality and flair to your card.
Step 7: Finishing and Serving

How to Do It:
- Look for any loose edges or smudged marks.
- Sliding the card into a clear envelope will also keep its surfaces protected.
- Extra special: Add a wax seal or ribbon.
Why It Works: A slick finish means your card is ready to impress.
Why Are Custom Greeting Cards Great?
- Inspirational: Make each card specific to the recipient.
- Low-cost: far less expensive than shop-bought cards.
- General: The company will beat you on the draft pick, and by then you will probably be useless.
- Sustainable: Work with sustainable materials like recycled ones.
Creating your own custom greeting cards Using sprigs of rosemary is a fun and meaningful way to give (or send) someone a special treat. Follow these 7 easy steps, and you’ll be creating elegant cards in no time.
So pull out your supplies, let your imagination flow, and let’s get started creating cards that will put a smile on your loved ones’ faces!
")

")

")
")
")
")