Wall Wow: How to Create a Stunning DIY Gallery Wall in Your Living Room!
If You Want to Add Personality and Style: A Gallery Wall It’s also a fun way to showcase your favorite art, photos, and keepsakes while creating a statement. The best part? You don’t have to be an interior designer to make one! And with a bit of planning and some DIY wizardry, they can take a blank wall and turn it into a dazzling focal point. Ready to get started? Now let’s jump into how to make your living room wall into a DIY gallery wall!
What You’ll Need:
- Frames (size and styles vary)
- Artwork, photos, or prints
- Measuring tape
- Level
- Pencil
- Nails (or adhesive strips) and hammer
- Template material should be paper or cardboard.
Step 1: Select your frames and art
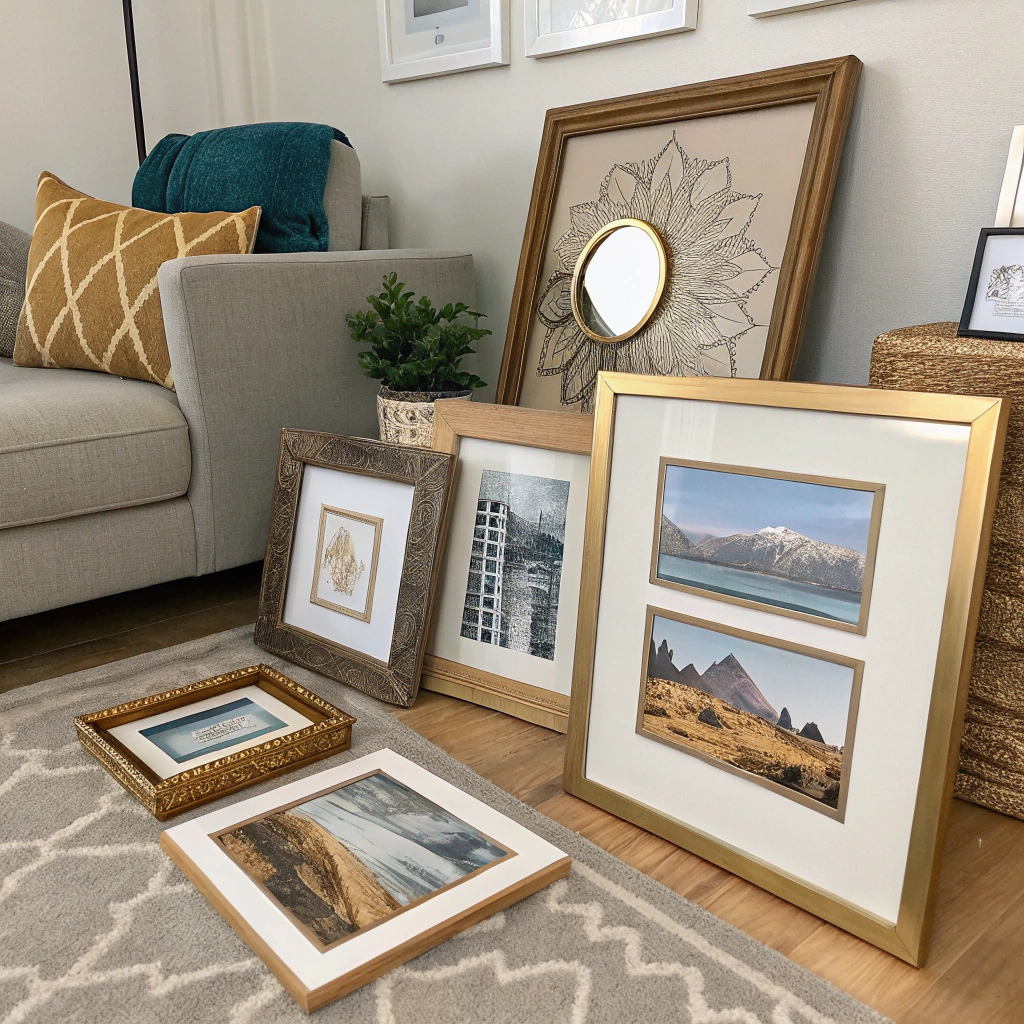
Select your frames and art
- Choose frames in various sizes, shapes, and finishes.
- Combine artwork, family photographs, and decorative prints.
- If you prefer a matching look, then stick to a color scheme or theme.
- By all means, get creative!
Step 2: Plan Your Layout

Plan Your Layout
- Try arranging your frames by laying them out on the floor.
- Use a grid, a salon-style mix, or a symmetrical design.
- If you want to refer back to your favorite layout, take a picture.
- But planning saves a lot of time and prevents unnecessary holes in the wall!
Step 3: Create Templates
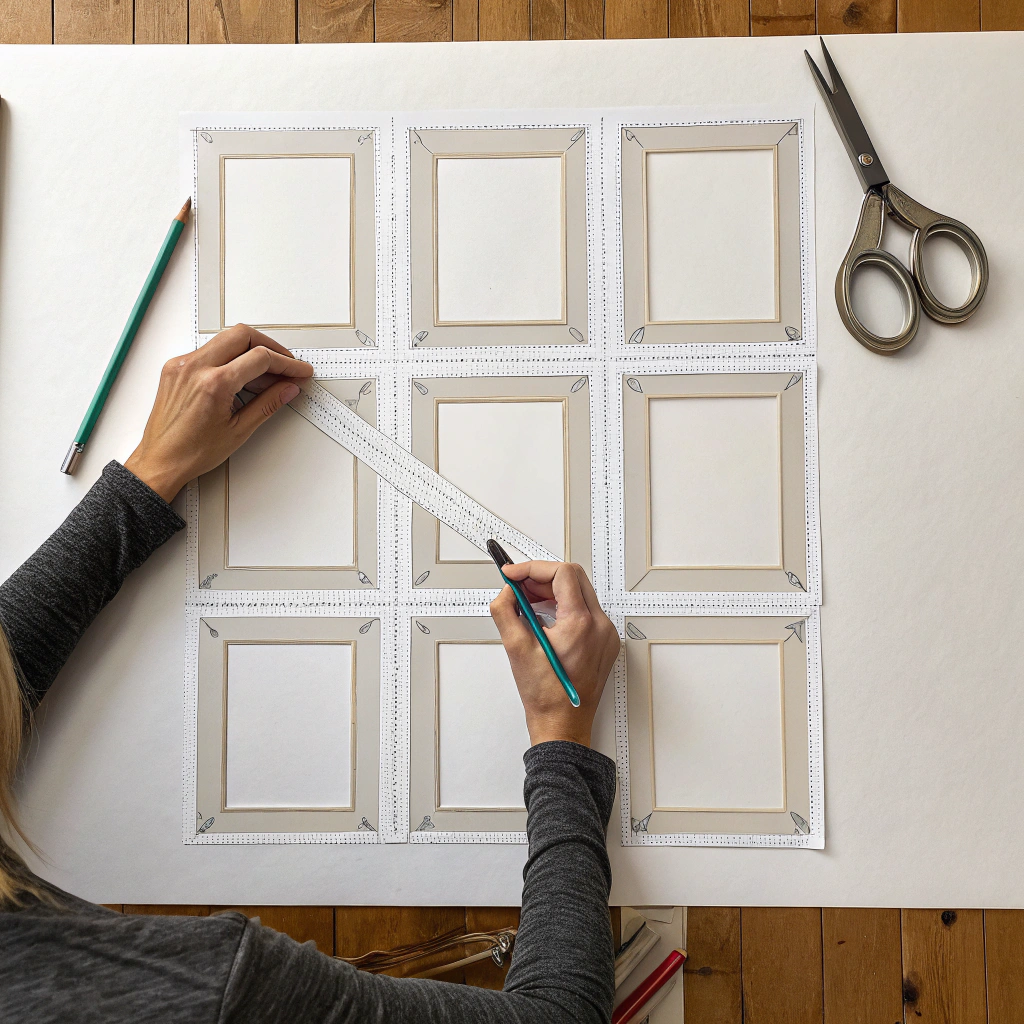
Create Templates
- Draw around all of the frames onto paper or cardboard.
- Cut out the templates and label them.
- Attach the templates to the wall to see how the layout looks.
- Tweak as necessary until it looks just right.
Step 4: Hang the Frames

Hang the Frames
- Use the centerpiece or largest item as an anchor.
- Ensure each frame is straight with a level.
- You can hammer nails or use adhesive strips to stick the frames up.
- Clean up the templates along the way.
Step 5: Add Personal Touches
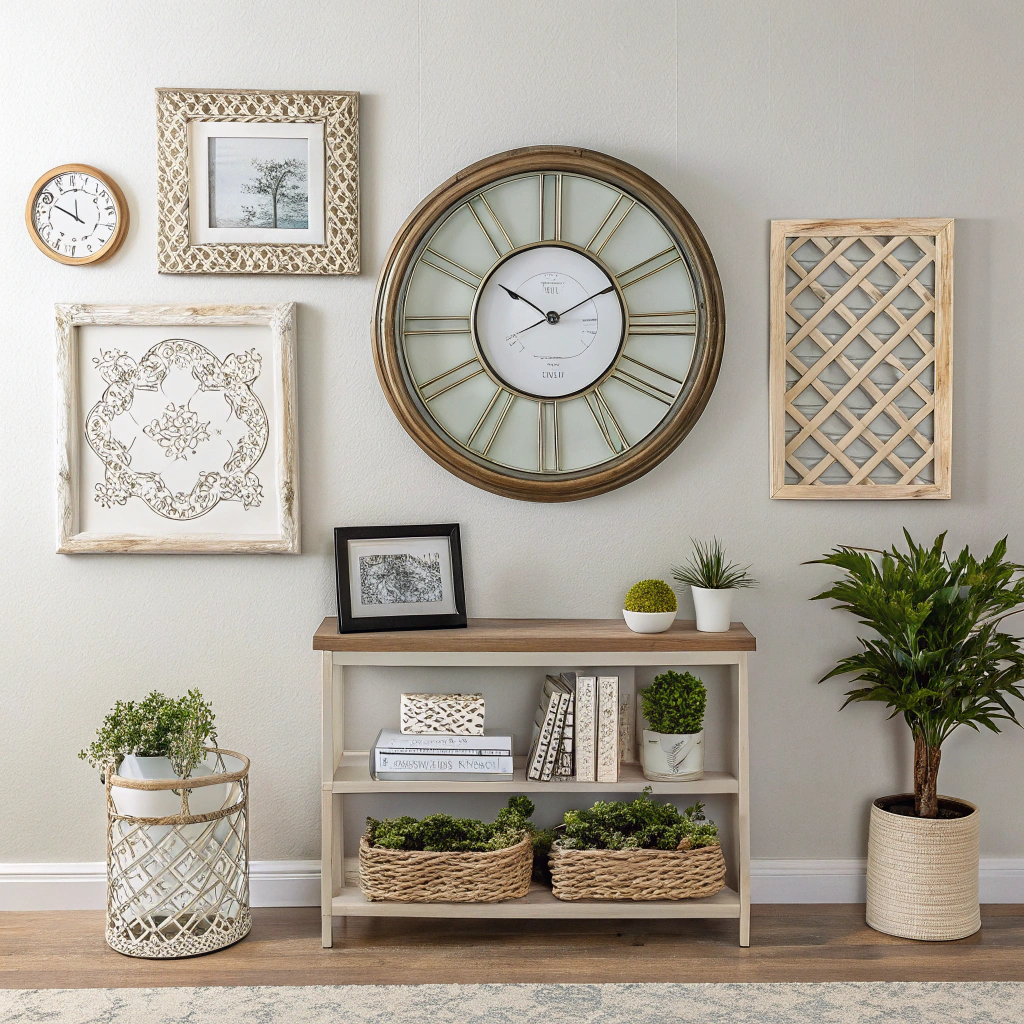
Add Personal Touches
- Add special accessories like mirrors, shelves, or little things.
- For some variety, include a clock or wall decor.
- So keep what you serve balanced but not so perfect—imperfections are what make something charming.
- Make it uniquely yours!
Step 6: Step Back and Admire
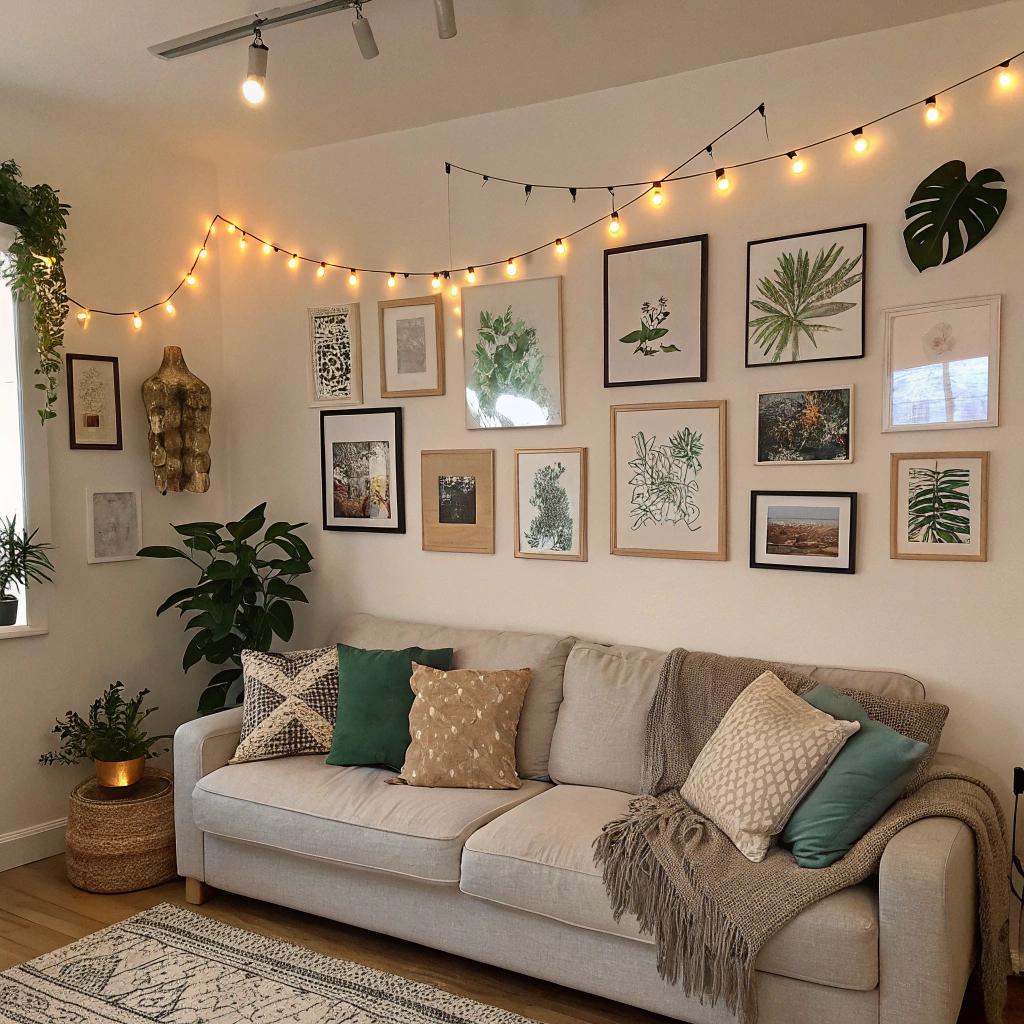
Step Back and Admire
- Once all was hung, step back and admire that work.
- It does not fit smoothly into any frames.
- Top it with lighting, like picture lights or string lights, for added drama.”
- Perfect for your gallery wall—it’s now a conversation piece!
Creating a DIY gallery wall is a fun and rewarding project that can completely transform your living room. With a little planning and creativity, you can showcase your favorite pieces in a way that reflects your personality and style. So grab your frames, start arranging, and enjoy the process.
Your walls will never look boring again!
")

")

")
")
")
")