Sew Easy: How to Make Your Own Custom Throw Pillows That Wow!
Throw pillows are ideal for bringing color, texture, and personality into your decor. But store-bought is second best when you can make your own! Custom throw pillows are easier to make than you believe, and it’s a wonderful method to use your imagination. This guide will take you through the steps for making pillows that reflect your style, whether you’re a sewing pro or a beginner. Ready to get started? Let’s dive in!
What You’ll Need:
- Fabric (cotton, linen, or your preference)
- Pillow inserts
- Scissors or rotary cutter
- Sewing machine or needle and thread
- Pins or fabric clips
- Measuring tape or ruler
- Iron and ironing board
Step 1: Choose Your Fabric
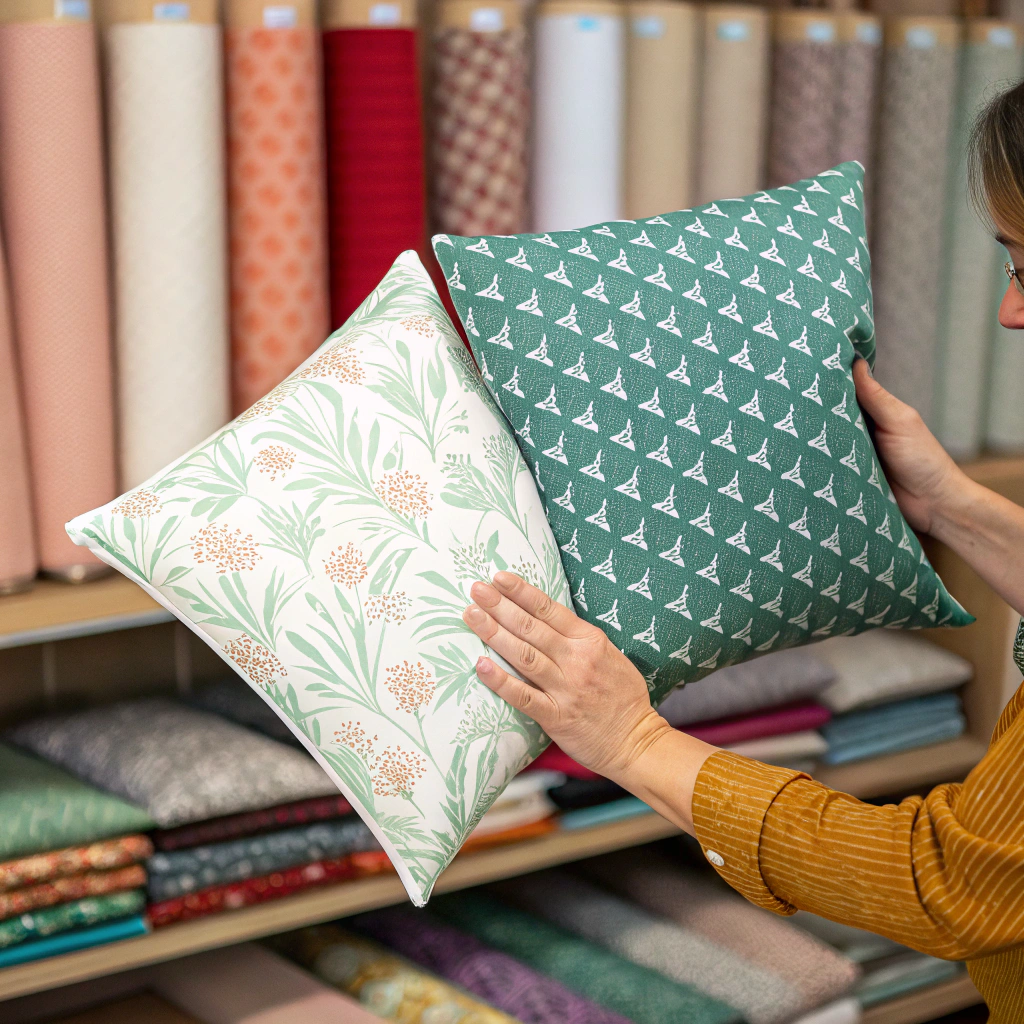
Choose Your Fabric
- Choose a gentle fabric that complements your decor.
- Into patterns, textures, and colors you love.
- Wash the fabric in advance so later it will not shrink.
- The right fabric is the mood of your pillows!
Step 2: Measure and Cut

Measure and Cut
- Measure your pillow insert and add 1 inch to each side for seam allowance.
- Cut two pieces of fabric this size.
- If you have a rotary cutter, then it gives you clean, straight edges.
- For the final touch, precision is essential.
Step 3: Pin and Sew

Pin and Sew
- Put the fabric pieces together, right sides touching.
- Pin or clip the edges to keep them in place.
- Stitch around the sides, leaving a 4-5 inch opening on one side.
- Make sure to backstitch at the start and ends for reinforcement.
Step 4: Turn and Stuff
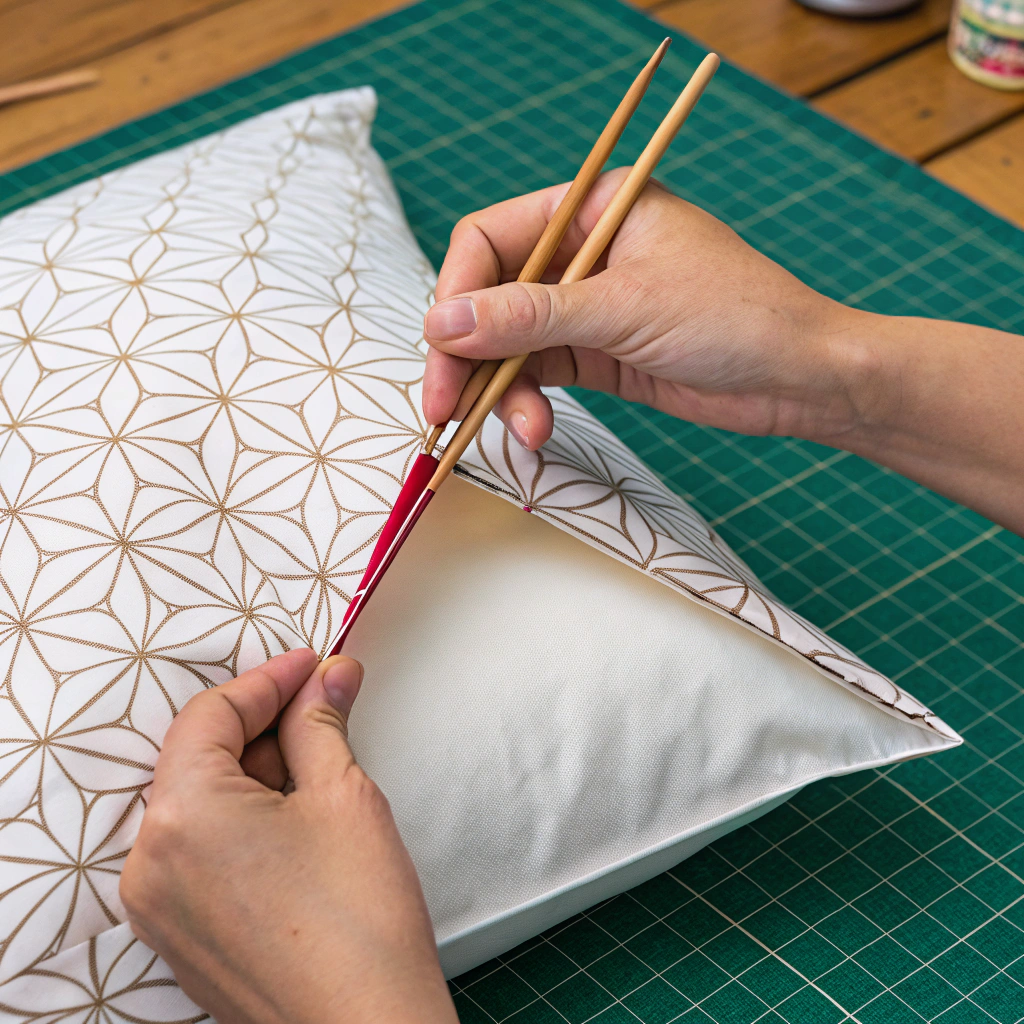
Turn and Stuff
- Pull the gap in the pillowcase to turn the whole thing right-side out.
- Use a pencil or chopstick to press them out of the corners.
- Stuff the pillow form inside and shape as necessary for a tight fit.
- Your pillow is starting to take form!
Step 5: Close the Gap
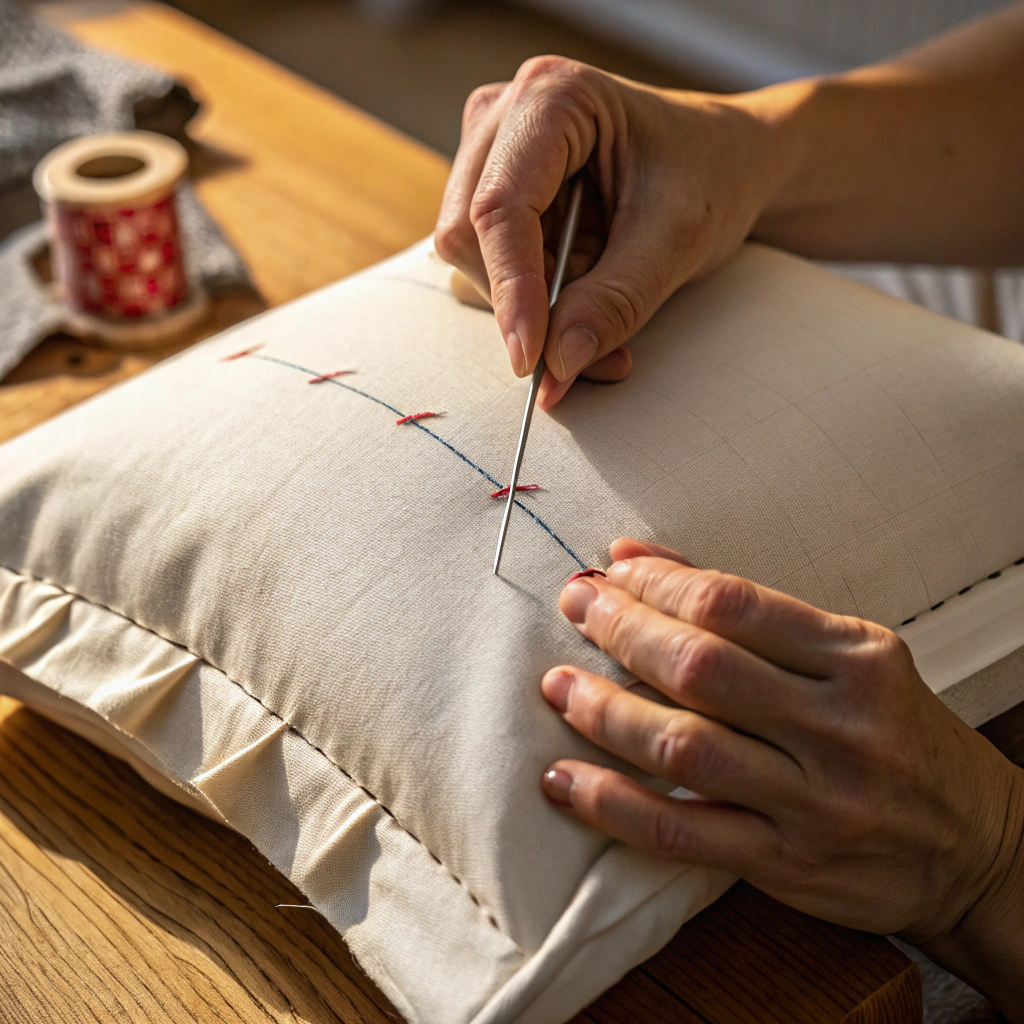
Close the Gap
- Pin the raw edges of the gap and tuck them inward.
- Hand sew, or use a sewing machine, to close the gap.
- A ladder stitch makes for an invisible seam.
- And now your pillow is ready to be fabulous!
Step 6: Add Personal Touches
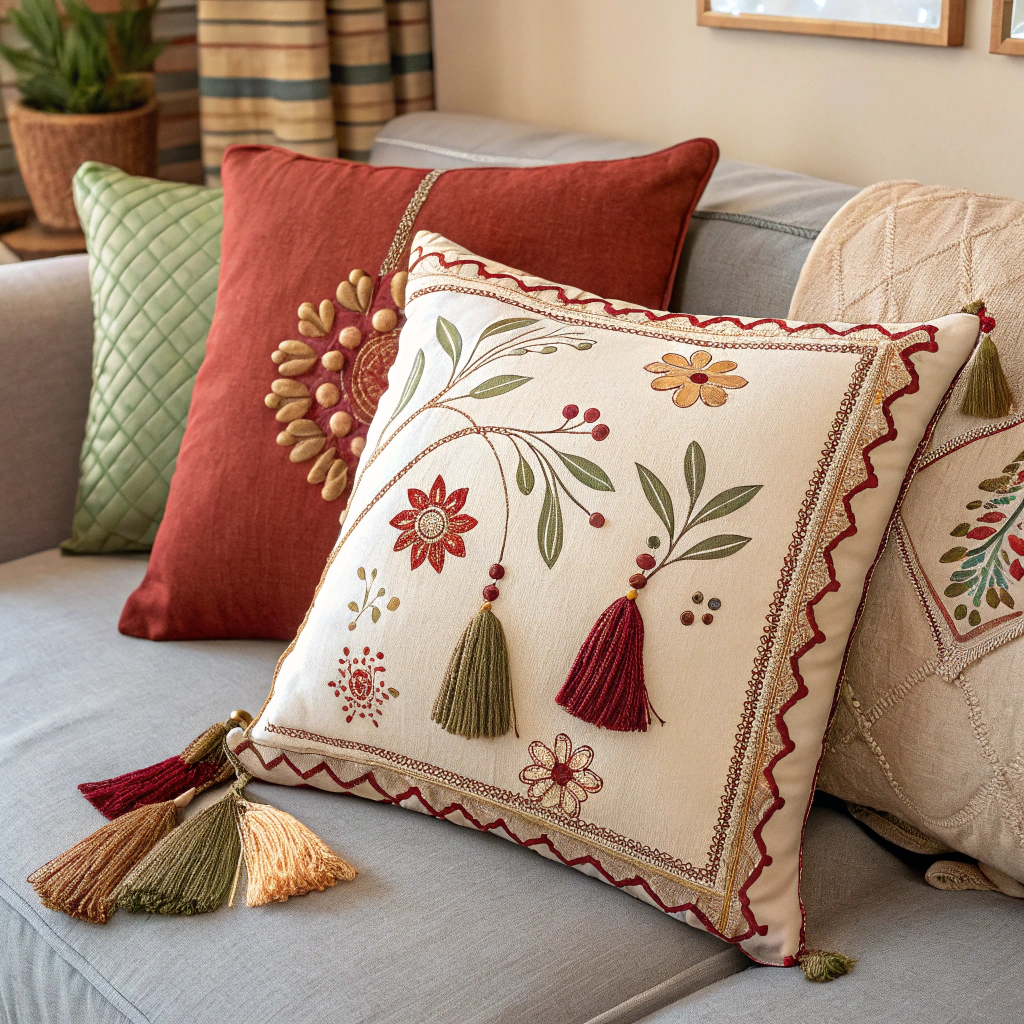
Add Personal Touches
- You’re stitching with buttons, tassels, or embroidery.
- Experiment with shapes, like round or bolster pillows.
- Pair different fabrics to create a unique look.
- You can keep it as basic or fancy as you want!
Step 7: Style and Enjoy

Style and Enjoy
- Top your couch, bed, or chairs with custom pillows.
- Stack them with other pillows for a cozy feel.
- Step back and admire your handiwork, and accept the compliments.
- You’ve literally created something unique!
Of course, people can DIY their own throw pillows, but the good thing is this could pretty much take a lifetime of trying to make your own. Making your own pillows is easy and won’t dent your budget, and with a few materials and a bit of creativity, you can have a pillow to fit your style and your decor.
So cut your fabric, assemble your sewing machine, and let’s get making. Your home will thank you!
")

")

")
")
")