207


No fancy tools? No problem! Enter “The simple way to construct an awesome wood rack.”
Fancy a fancy wooden shelf but don’t have a workshop packed with tools? Don’t worry! All you need are a few basic tools and a little creativity, and you can create a gorgeous shelf that’s as functional as it is attractive. Novice or experienced crafter, this guide will explain how to assemble a wooden shelf with just a few tools. Let’s get started!
What You’ll Need?
- One wooden board (cut to size at your desired measurements)
- (Kowtow—Handy sanding tool: medium and fine grit sandpaper.).
- Wood screws
- A screwdriver or drill
- A level
- A measuring tape
- Brackets or shelf supports
- Paint or stain (optional)
Step 1: Choose Your Wood
Choose Your Wood
- Choose a wooden board that also coordinates with your space and style.
- Both pine and plywood are budget-friendly options.
- If you cannot cut the wood yourself, request that the store do it for you.
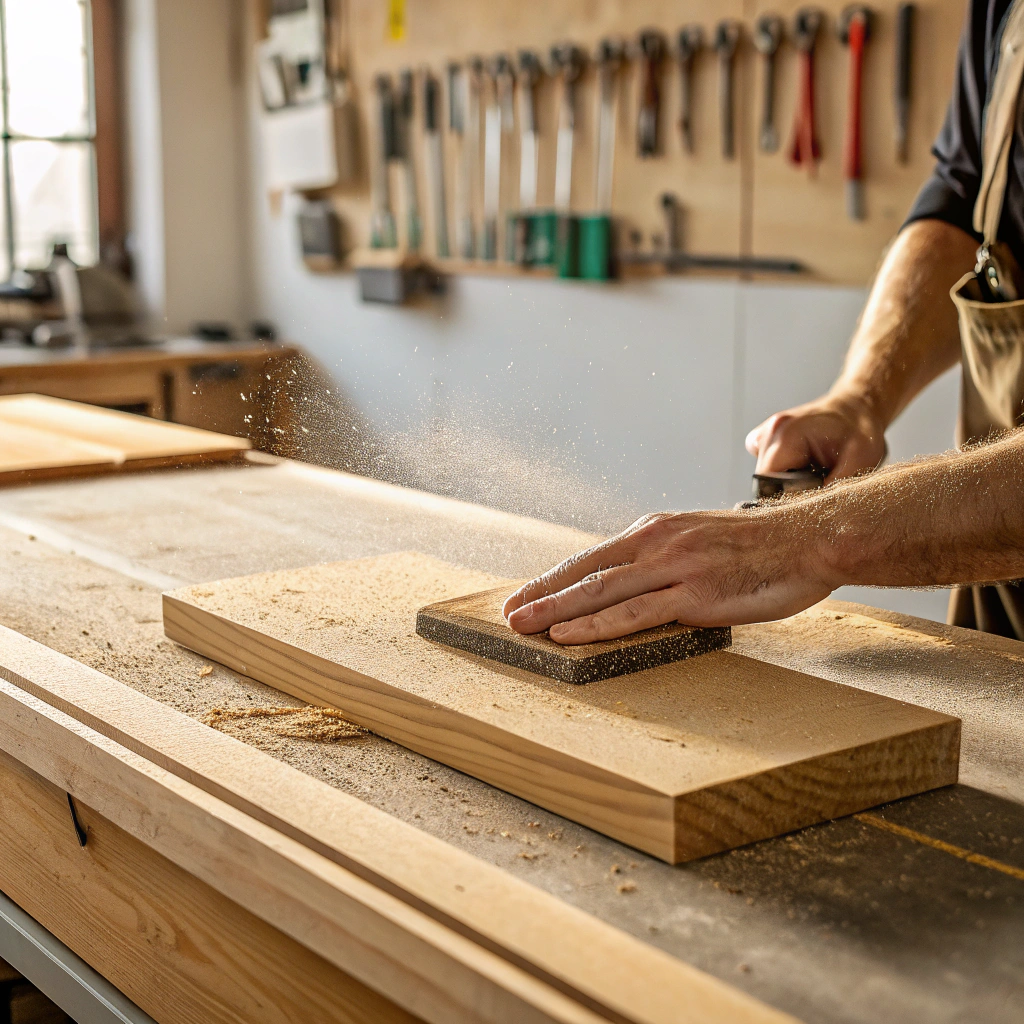
Step 2: Sand the Wood
Sand the Wood
- Sand with medium-grit sandpaper to smooth rough edges.
- Then sand with fine-grit paper for a finished appearance.
- Remove dust with a damp cloth.
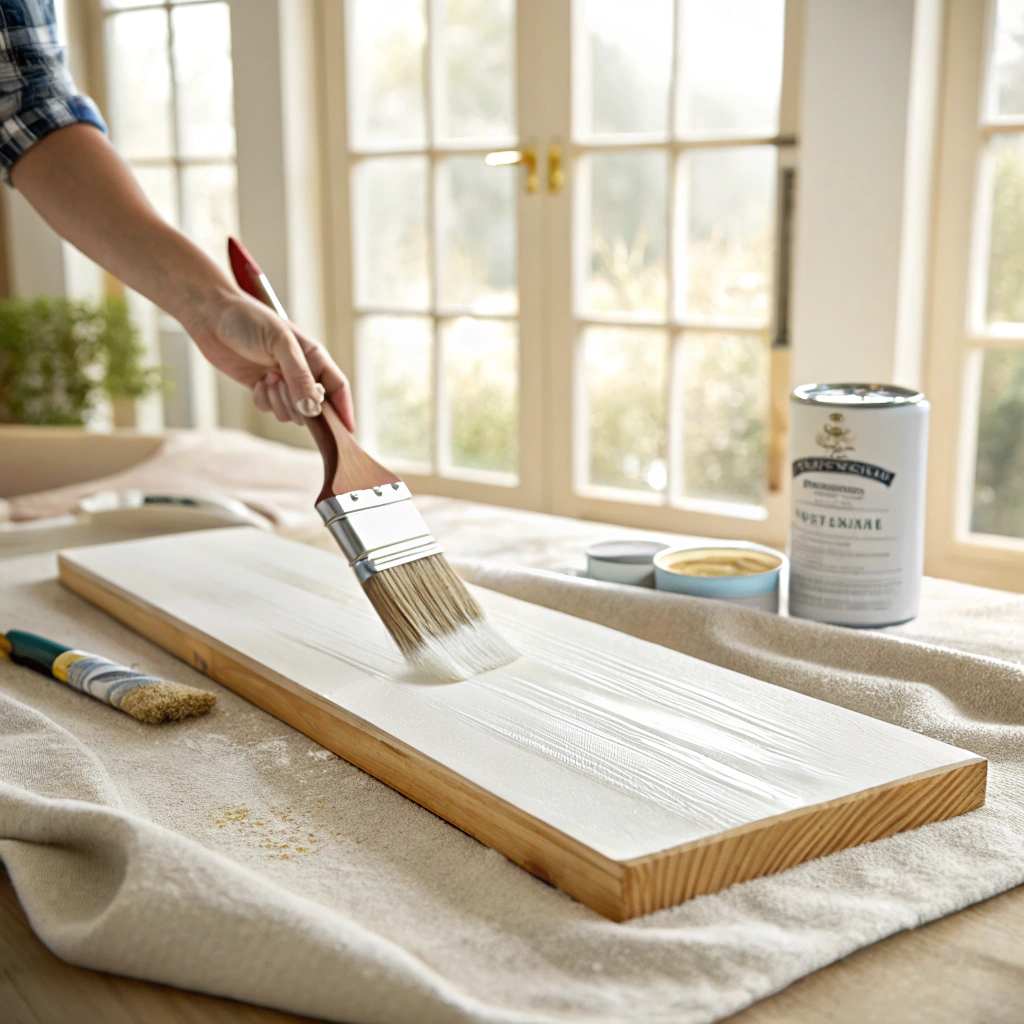
Step 3: Paint or Stain (Optional)
Paint or Stain (Optional)
- Use a coat of paint or stain to match your decor.
- Allow the glue to dry completely before proceeding to the next step.
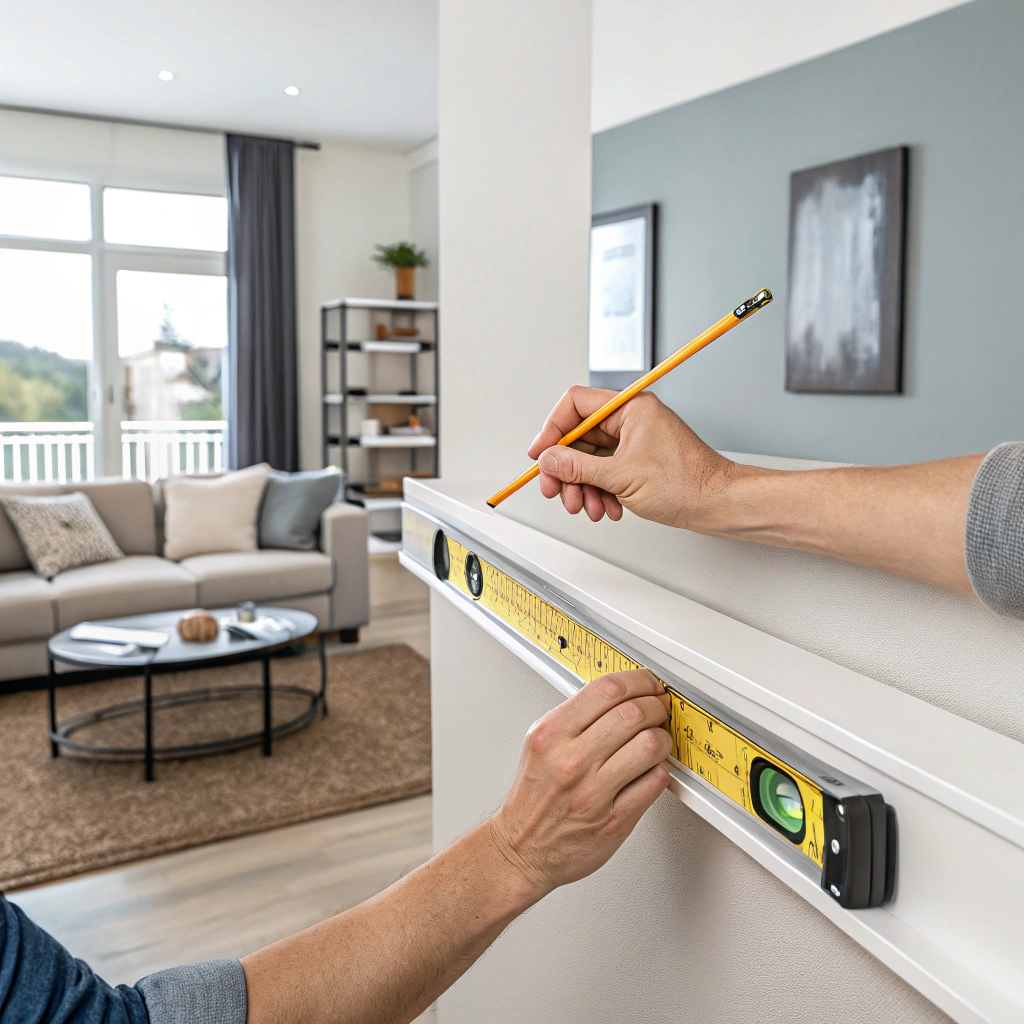
Step 4: Mark the Wall
Mark the Wall
- Mark off where you want the shelf with a measuring tape.
- Use a pencil to mark the positions of the brackets.
- Utilize a level to ensure your markings are straight.
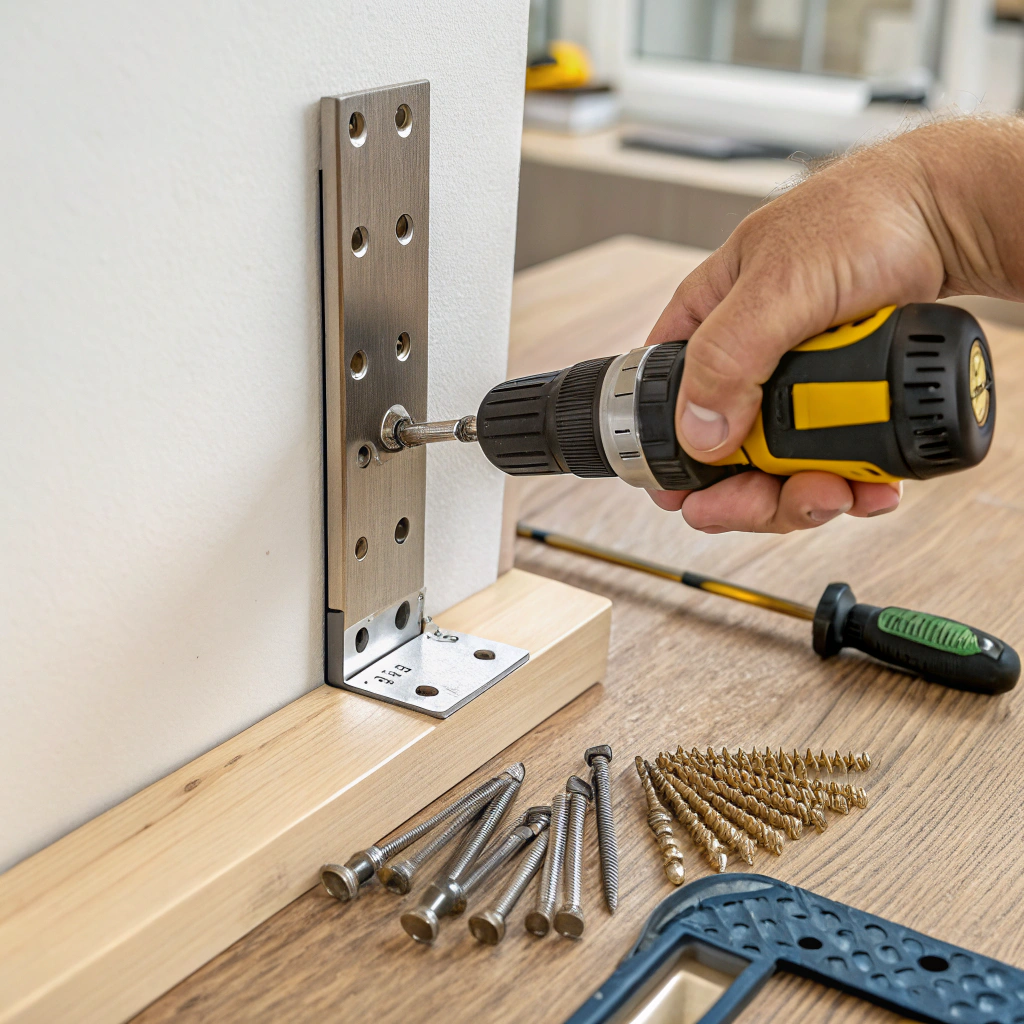
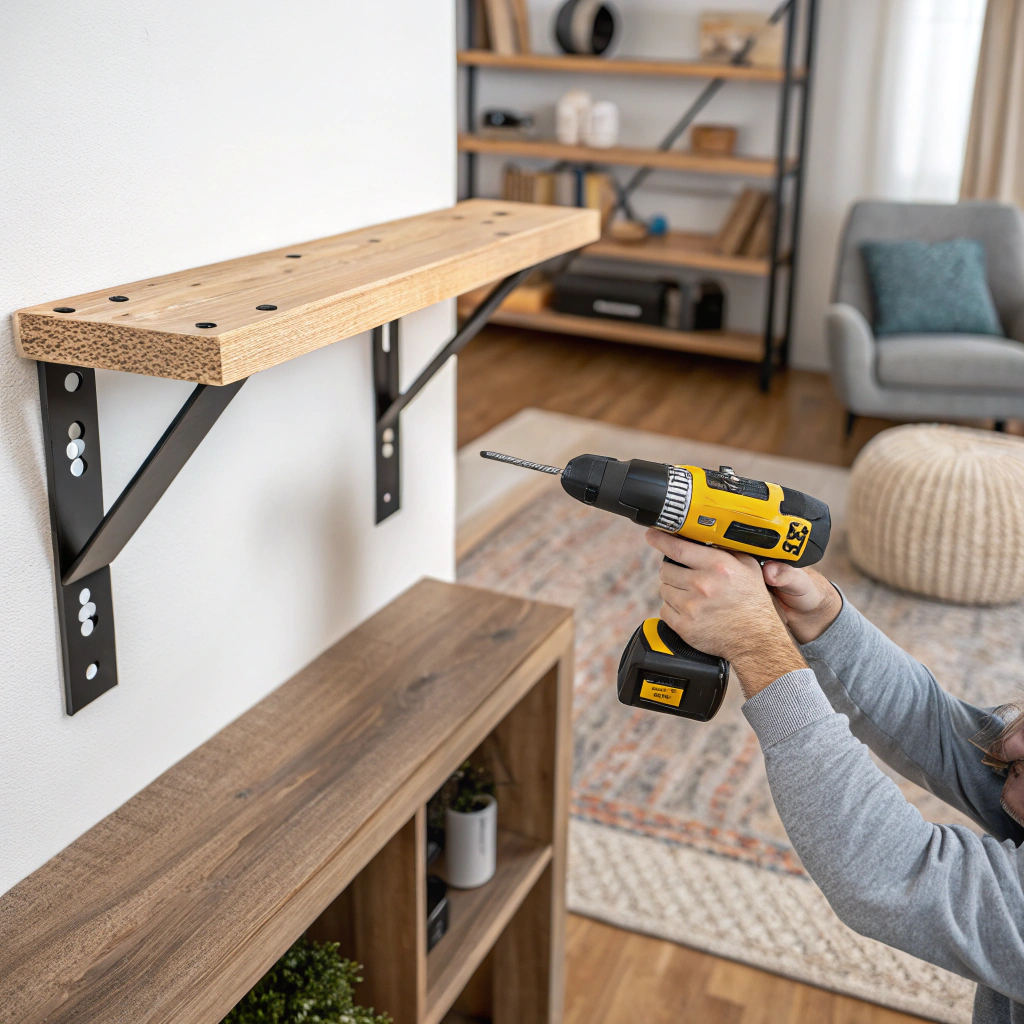
Step 5: Attach the Brackets
Attach the Brackets
- Screw the brackets into the wall where you have made your marks.
- Just ensure they’re stable and level.
Step 6: Place the Shelf
Place the Shelf
- Place the wooden board over the brackets.
- Attach with screws through the brackets on the underside of the board.
- Make sure that the shelf is level.
Step 7: Style Your Shelf
Style Your Shelf
- Put books, plants, or decor on your new shelf.
- Take a step back and admire your work!
You don’t need to make complex woodworking projects for building a wooden shelf or need costly tools. All you need are a few materials and a couple of hours, and you can design your own home piece!
So pick up your tools and start building your walls—they’ll thank you!
")

")

")
")
")
")