These Macramé Plant Hangers Will Bring The Great Outdoors Into Your Home!
Macramé plant hangers are an elegant and multifunctional—not to mention, stylish!—way to showcase your favorite plants and apply a boho-chic feel in your home. Whether you’re new to the craft or have been doing it for years, creating your own macramé plant hanger is more simple than you might expect. In this tutorial guide, we will guide you step by step on how to make a stylish macrame hanger that really will take your houseplants to the next level. Let’s get started!
Step 1. Gather Your Supplies
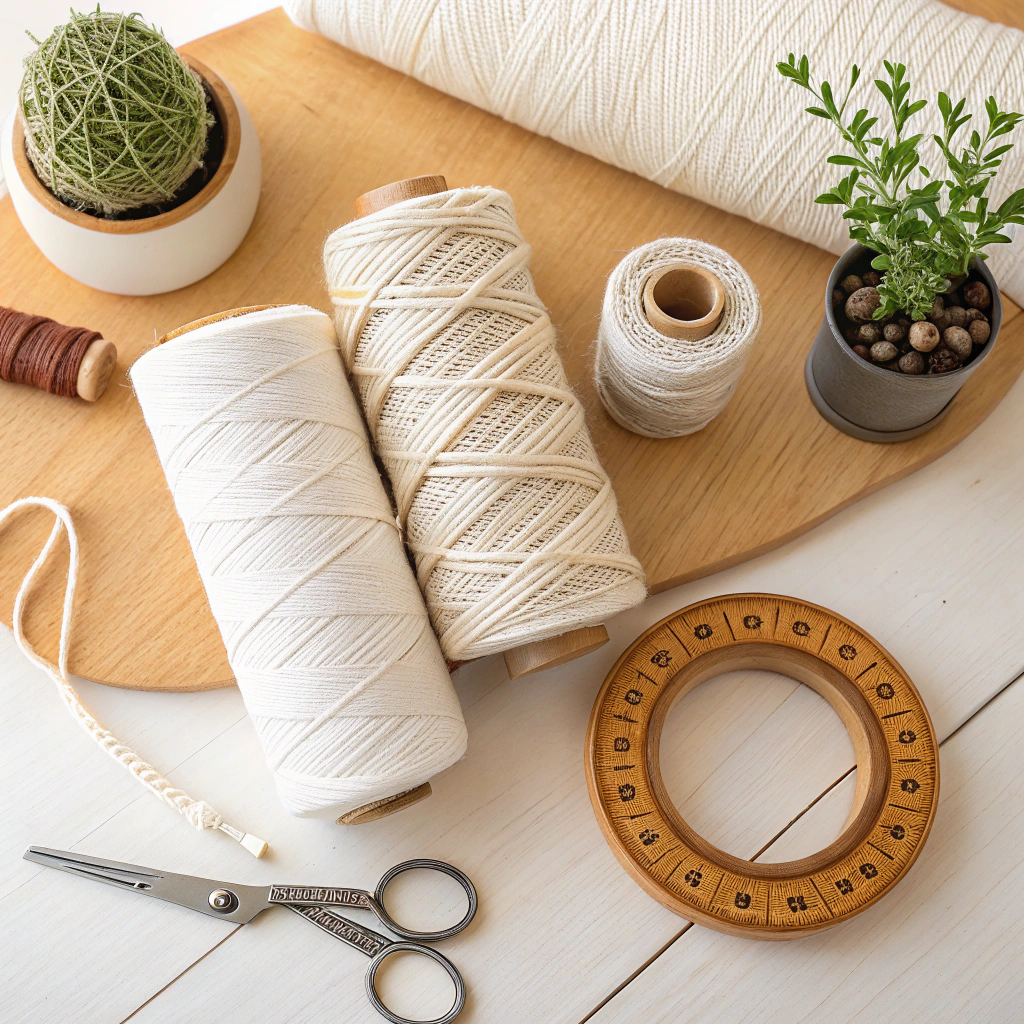
Gather Your Supplies
What You’ll Need:
- Thin or thick macramé cord (I used 3mm or 5mm thickness).
- A ring made of either wood or metal for the top
- Scissors.
- A tape measure.
- A plant pot.
Why It Works: If you have the right tools, your project is more likely to come together without a hitch.
Step 2. Cut and Prepare Your Cords
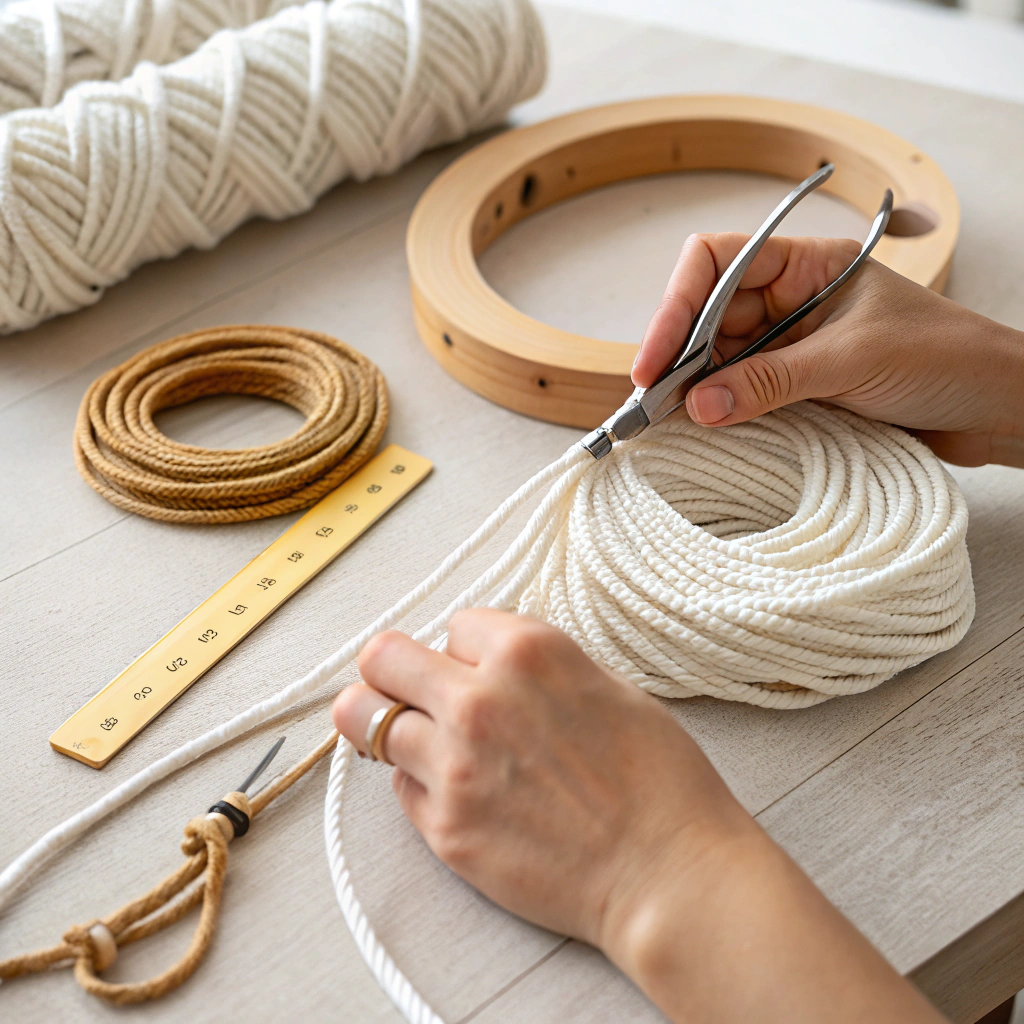
Cut and Prepare Your Cords
How to Do It:
- Find 4 pieces of 8-foot cords to cut.
- Fold each cord in half and secure it to the ring with a lark’s head knot.
- This will leave you with a total of 8 strands hanging down from the ring.
Why It Works: The correctly measured and attached cords are a cornerstone of your design.
Step 3. Create the Knots for the Hanger
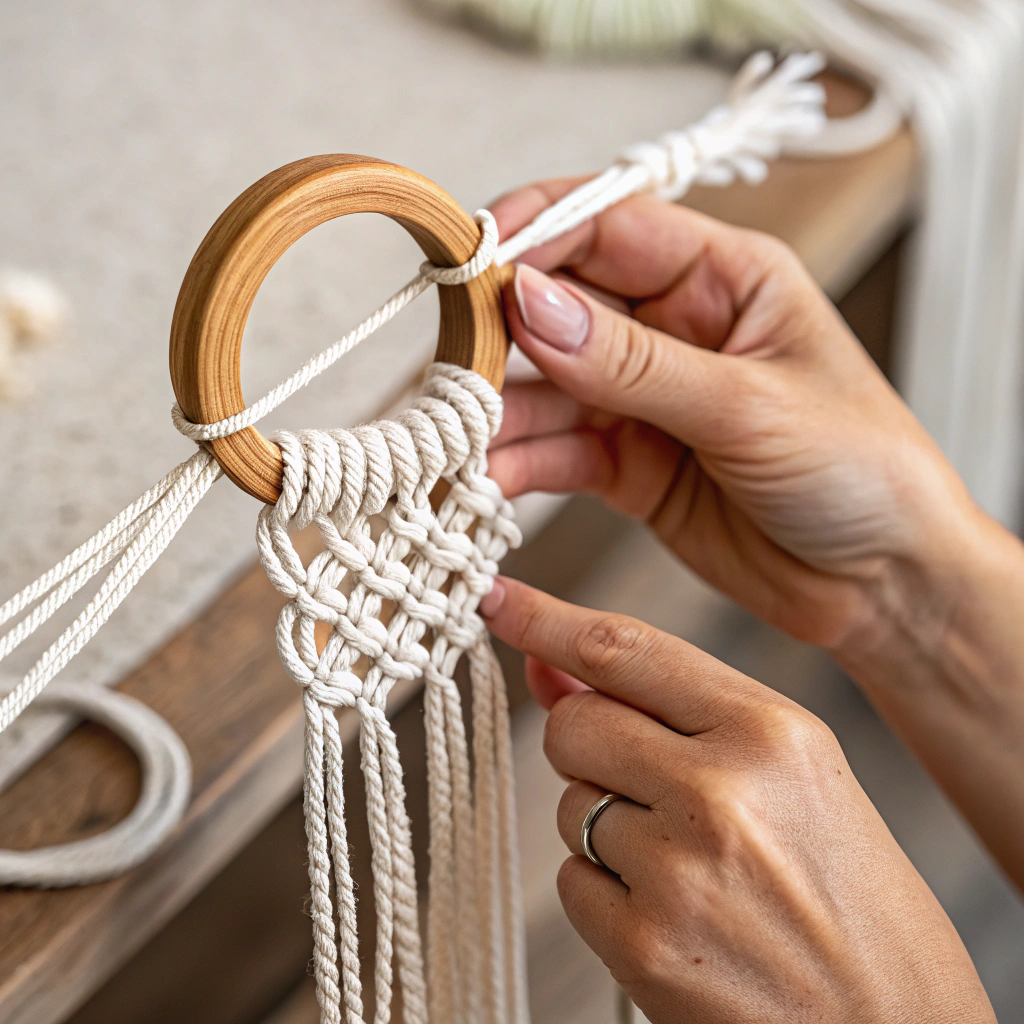
Create the Knots for the Hanger
How to Do It:
- Separate the cords into 4 pairs of 2 strands.
- Gather the groups and tie a square knot in each group about 6 inches below the ring.
- Space square knots out every couple of inches for a design.
Why It Works: Square knots form a decorative and strong structure.
Step 4: Form the Cradle for the Pot
Form the Cradle for the Pot
How to Do It:
- All 8 strands should now be in your hand, and you’ll tie a square knot around 12 inches below the last knots you made.
- Again, separate the cords into 4 groups and tie another set of square knots below the large knot.
- Make sure you leave enough length for the fringe at the bottom.
Why It Works: The cradle holds your plant pot securely in place.
Step 5: Finish with a Fringe
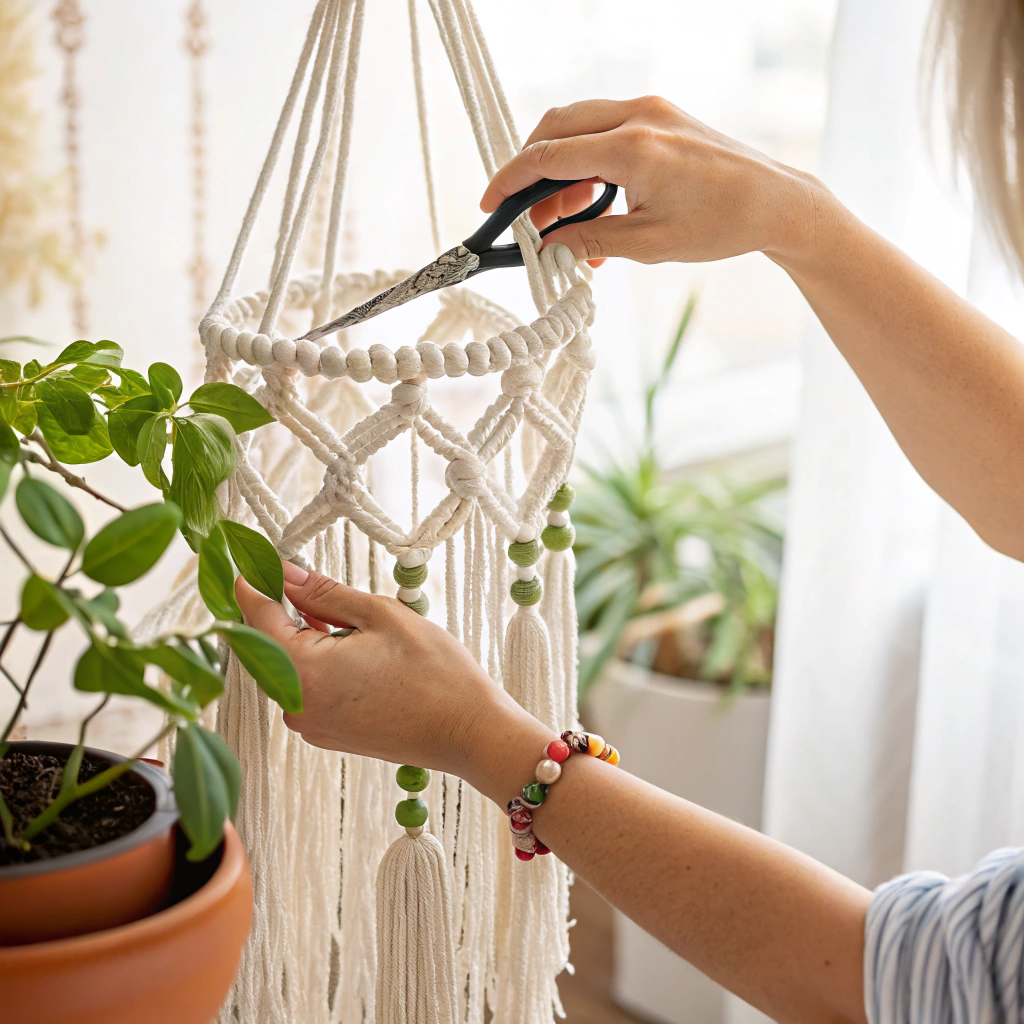
Finish with a Fringe
How to Do It:
- Cut the ends of the cords down to size.
- Add beads or tassels to the ends for extra flair (optional).
- Comb through the fringe to fluff it out in an elegant method.
Why It Works: Fringe dresses up your hanger.
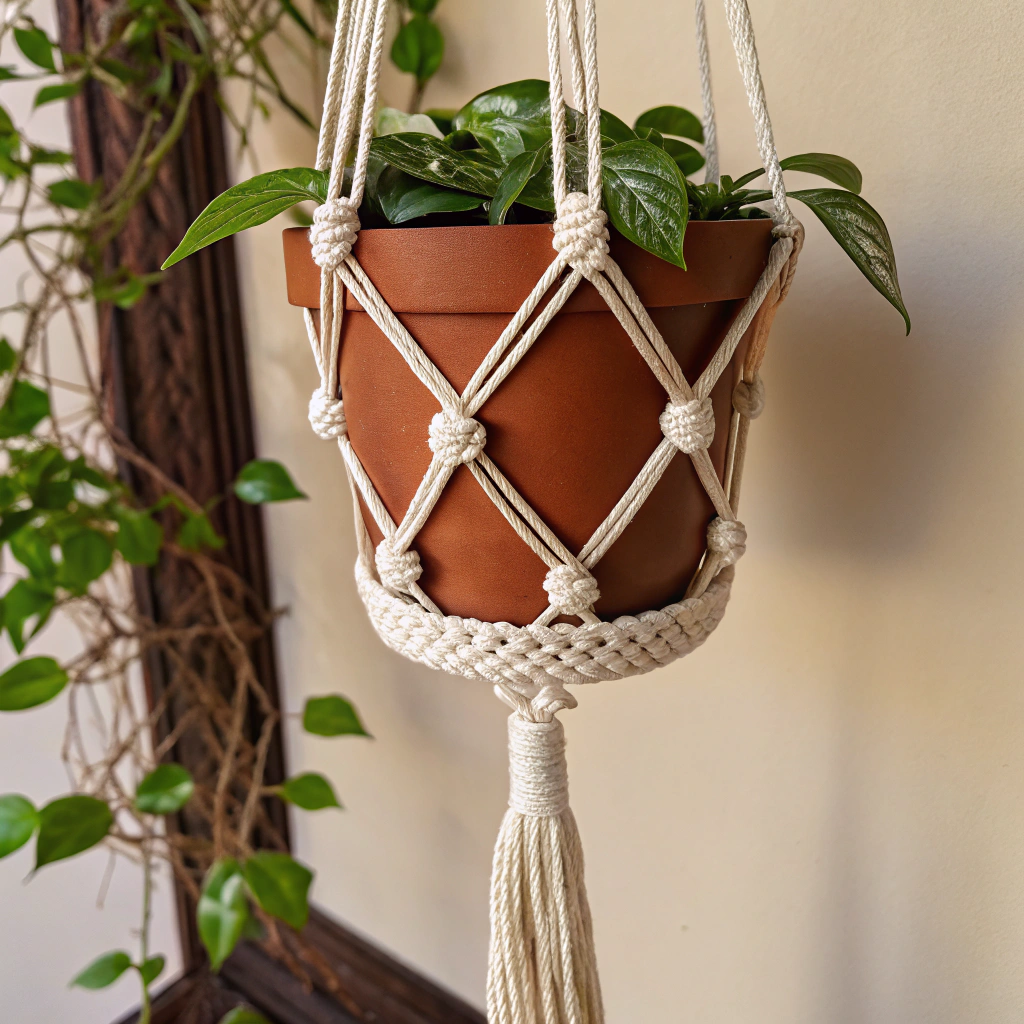
Step 6: Hang and Style Your Plant
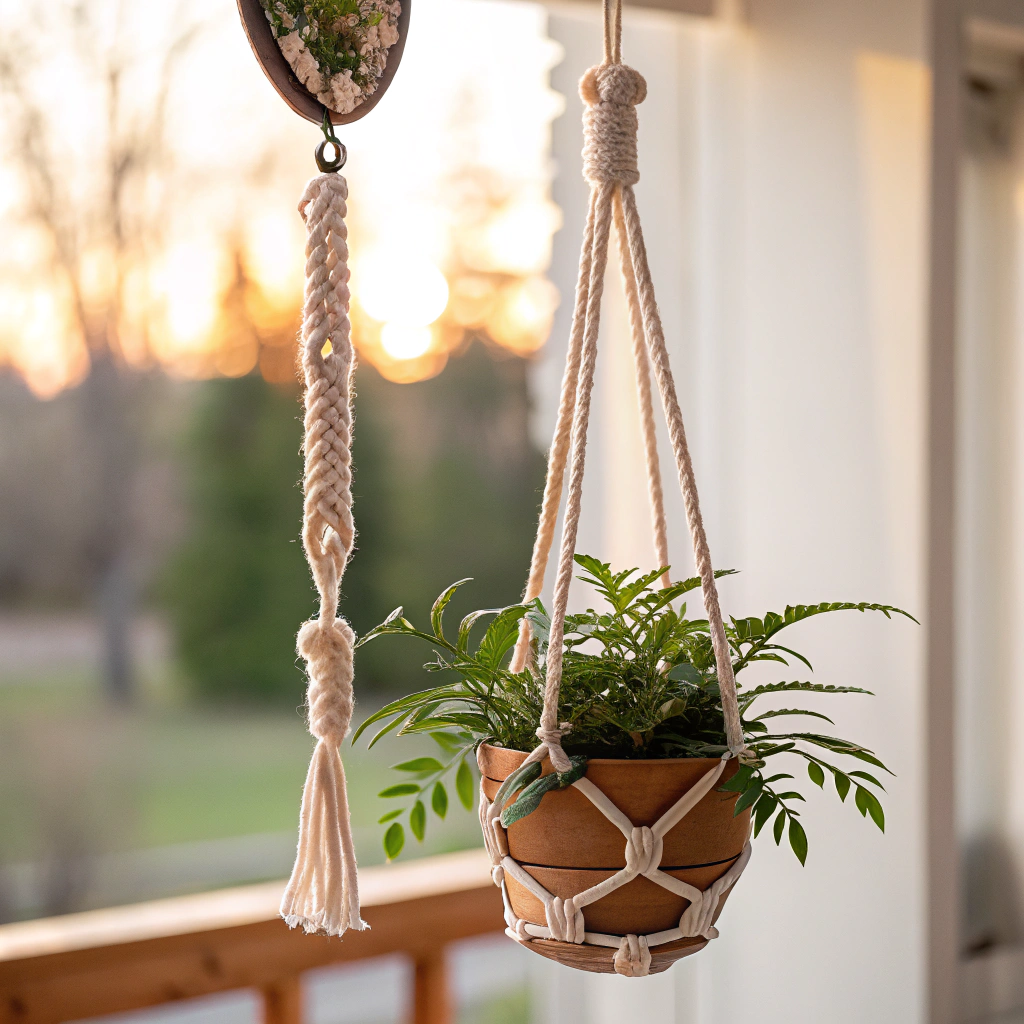
Hang and Style Your Plant
How to Do It:
- Insert your plant pot in the cradle of the hanger.
- Attach the macramé hanger to a hook or a ceiling beam.
- Try to make the knots and fringe even more balanced.
Why It Works: A white hanger beautifully showcases the plant.
Why Macramé Plant Hangers Are Perfect for Your Home?
- Stylish: Adds a boho-chic touch to any room.
- Space-saving: Frees up floor and shelf space.
- Customizable: Choose colors and patterns to match your decor.
- Eco-Friendly: A sustainable way to display your plants.
To make a macramé plant hanger: Making your own plant hanger is a fun and satisfying project that adds a little nature and style to your home. Follow these easy steps, and you’ll have a beautiful hanger for your favorite plants.
So get your cords, start knotting, and make your imagination flower!
")

")

")
")
")
")